plugin-plausible-plus
A plugin for Micro.blog for adding Plausible Analytics. Its code lives here
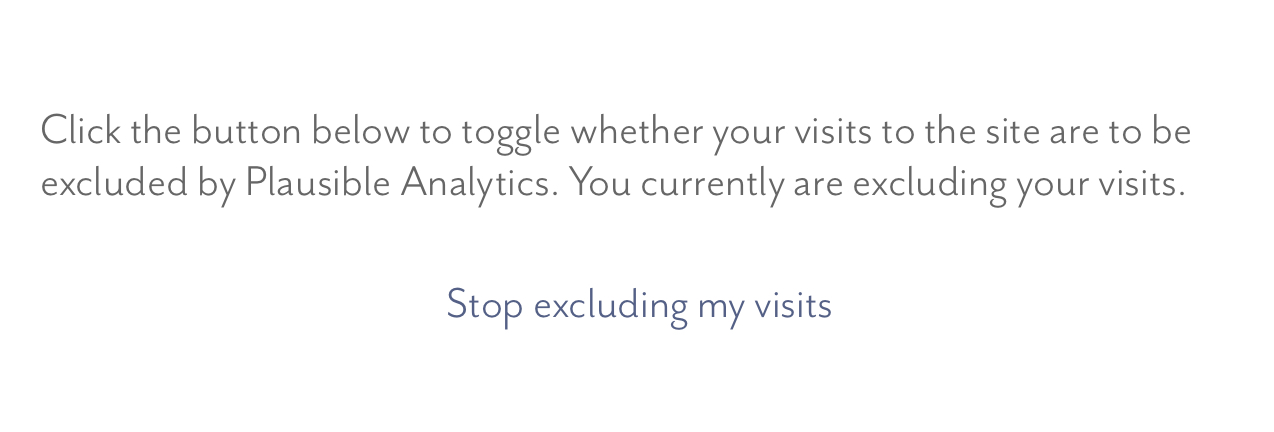
Inspired by the existing plugin, this plugin performs the same script injection function and adds a few bells and whistles. The first of which is the creation of a page (made availlable at [SCHEME]://[HOSTNAME]/plausible/) providing a toggle for excluding visits. As the Plausible doc states, every browser will have its own setting. Want to stop being counted when you click on your Twitter Card? Click on that card, navigate to the generated page, and click/touch the button.
Let’s look at the plugin’s parameters:

If the domain that is registered with Plausible Analytics is the same as HOSTNAME (as it is used above the previous image), then all the parameters are optional.
Out of the box you’ll be injectiing:
<script defer data-domain="[HOSTNAME]" src="https://plausible.io/js/plausible.js"></script>
If the registered site is different than HOSTNAME, enter that value for Registered Domain.
Let’s say you set Registered Domain to something like mydomain.com.
Then you’d be injecting something like:
<script defer data-domain="mydomain.com" src="https://plausible.io/js/plausible.js"></script>
So what are all the other parameters about? Let’s go on the journey I took when adding them.
So the first thing I saw when poking around the docs while creating the plugin was the bit about script extensions for enhanced measurement. I don’t personally need any of them; but, a valid parameter value for Script Extensions would take the following form:
extension  = "hash"   | "outbound-link" | "exclusions"
           | "compat" |      "local"    | "manual" ;

extensions = extension , [ { '.' , extension } ]
Which is basically to say sh$t like hash.outbound-link, which would have you injecting:
<script defer data-domain="mydomain.com" src="https://plausible.io/js/plausible.hash.outbound-link.js"></script>
The remaining parameters were added when I came across the doc on proxying through Cloudflare, since I am currently using Cloudflare.
The Script Name and Script Source parameters evolved out of following steps one through four of the proxying guide linked above.
Adding hypothetical values for these two parameters would yield:
<script defer data-domain="mydomain.com" src="[Script Source][Script Name]"></script>
So if you set Script Source to equal https://your-worker-name.your-cloudflare-username.workers.dev/js/ and then you set Script Name to equal script.js what you would end up with (keeping our Script Extensions value as hash.outbound-link) would be:
<script defer data-domain="mydomain.com" src="https://your-worker-name.your-cloudflare-username.workers.dev/js/script.hash.outbound-link.js"></script>
Now, let’s say you are a completist like me and you go on to complete step five of that guide in order to run the proxy as a subdirectory.
Then you’d want to introduce another attribute, data-api. You’ll no longer need to include the SCHEME, so you’ll update the value of Script Source to point to that subdirectory. Say your subdirectory will be qwerty, then you’d set the value of Script Source to equal /qwerty/js. You would set the value of the Data API parameter to something like /qwerty/api/event. Then what we end up with (keeping our hypothetical Script Extensions and Registered Domain values) would be something like:
<script defer data-domain="mydomain.com" data-api="/qwerty/api/event" src="/qwerty/js/script.hash.outbound-link.js"></script>