plugin-favicons

A plugin for Micro.blog that injects favicon meta into the page
<head>. Its code lives here.
Updated for version 3 Now with automatically generated webmanifest and browserconfig files
Generating Resources
Let’s start with how to acquire all the favicon images we want to link. Start with a square image of your choice at least 300-some pixels in both directions.
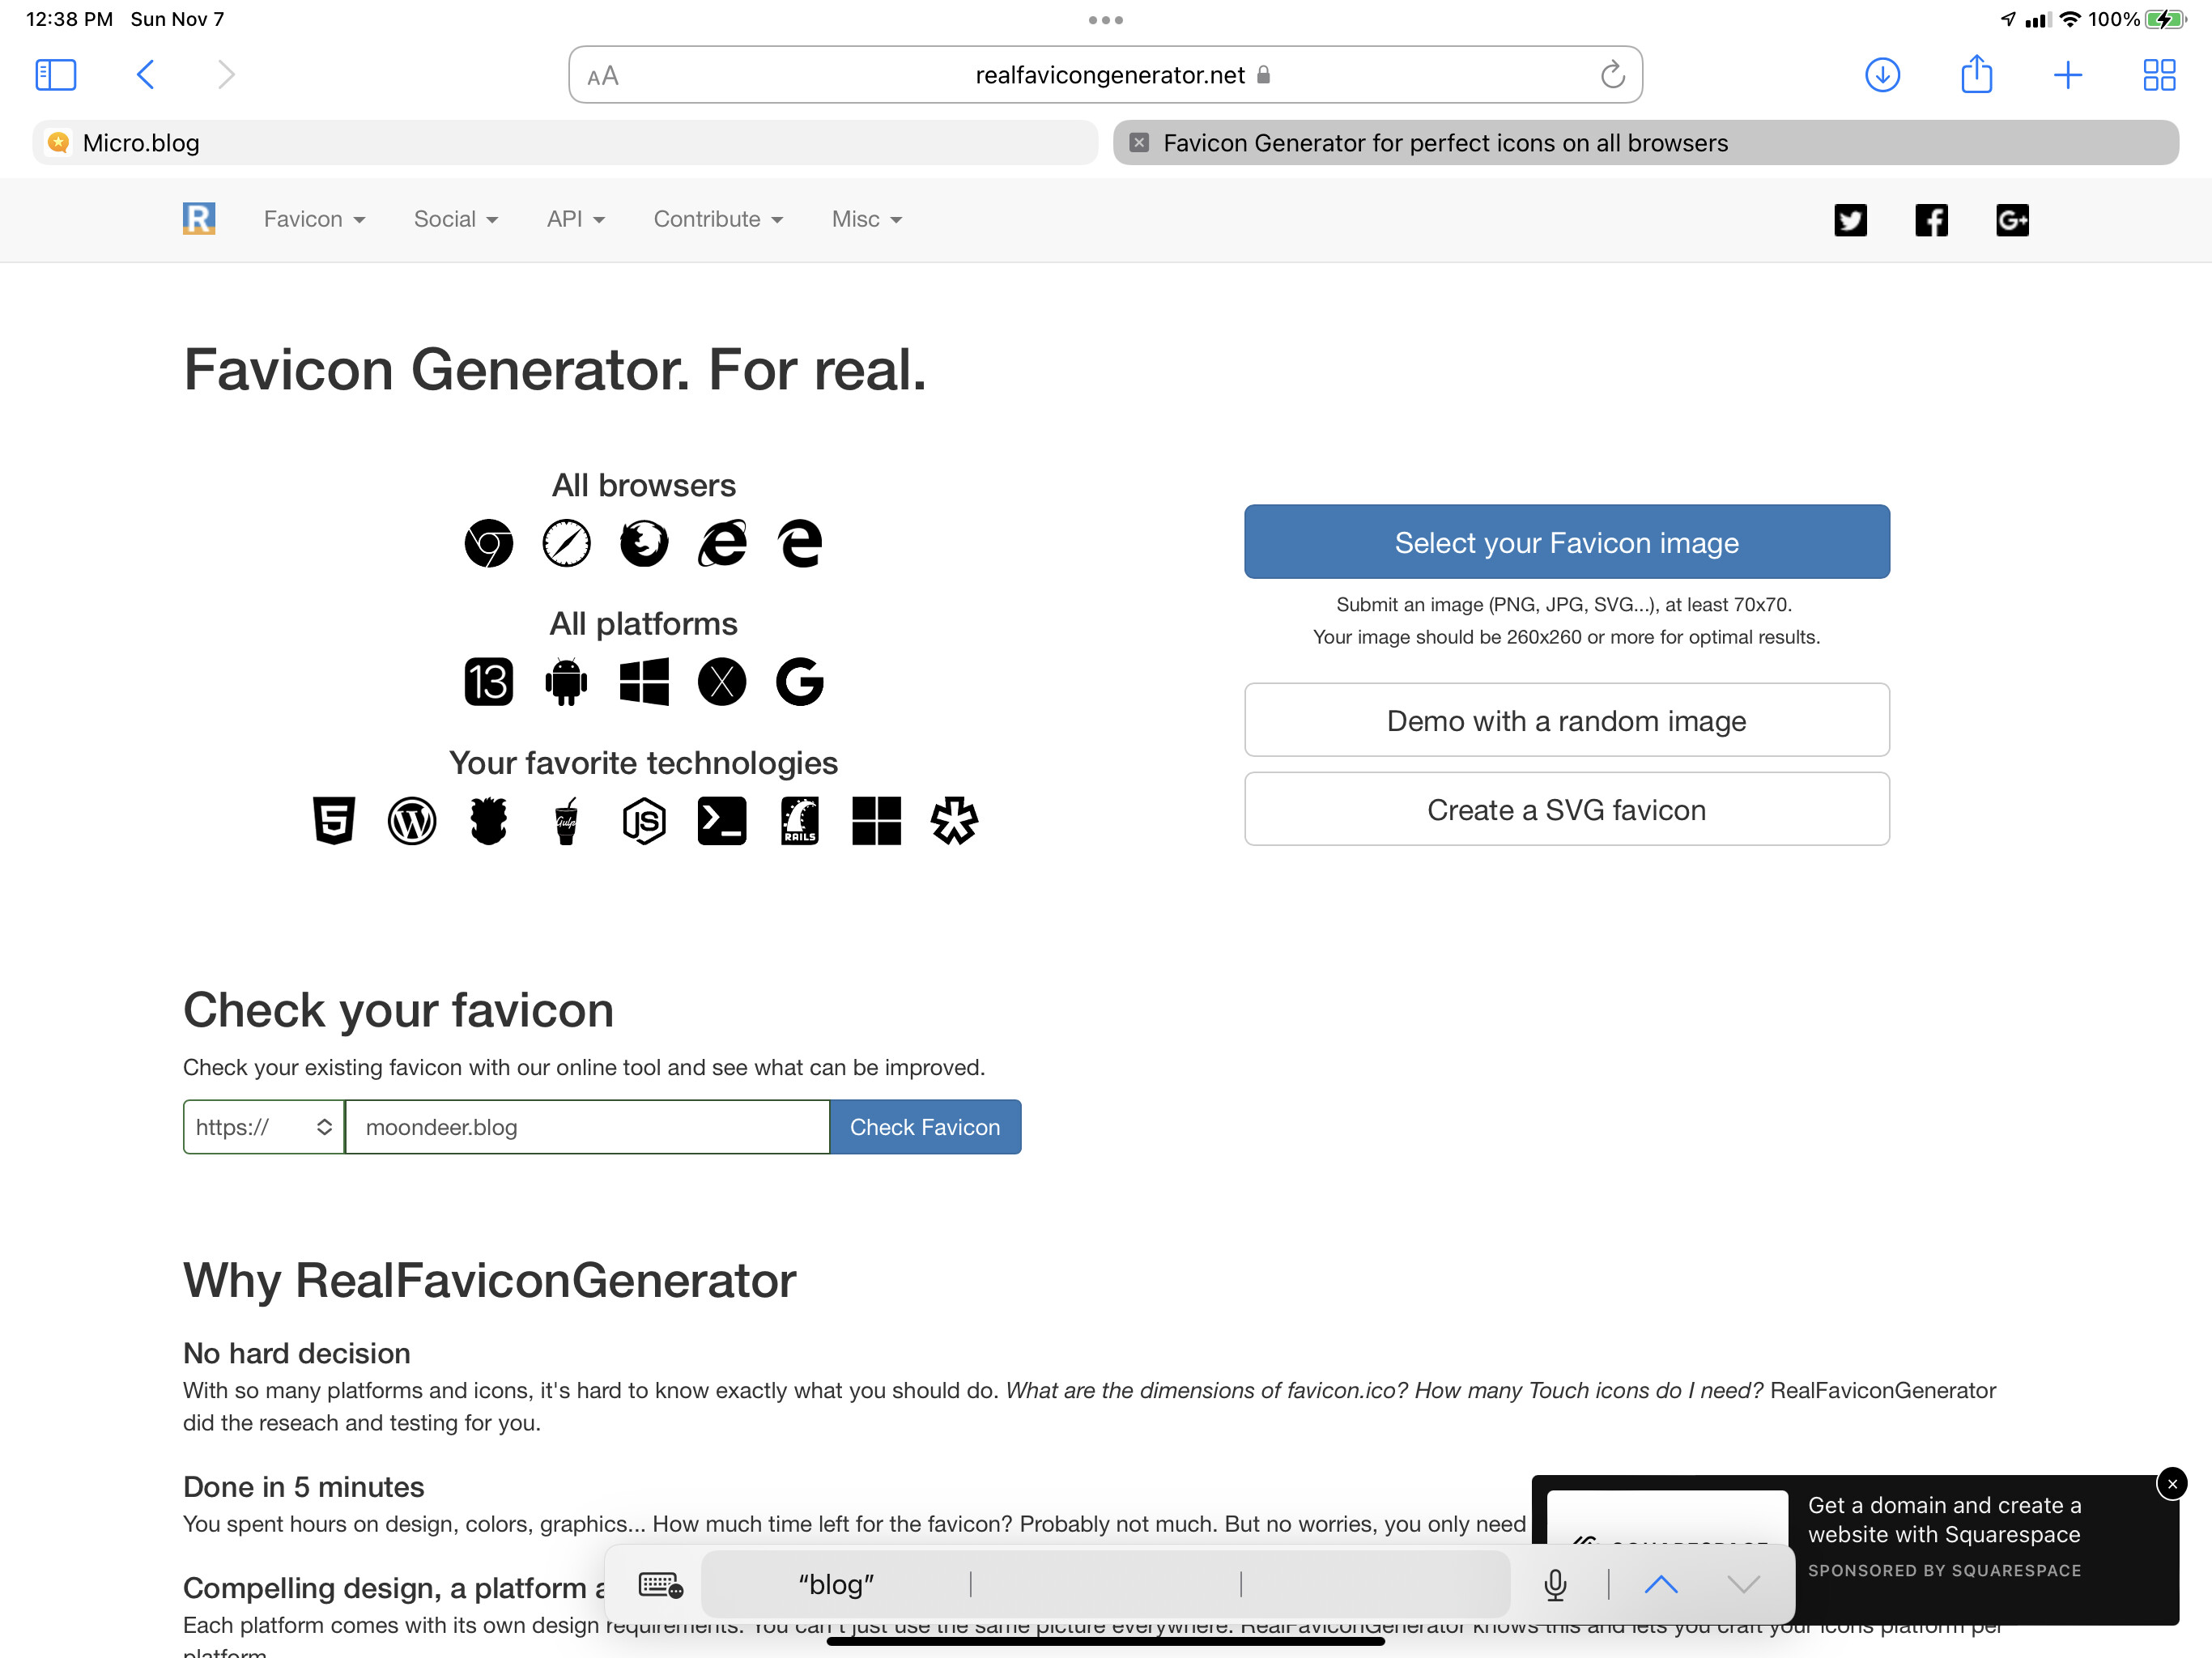
If you run that image through https://realfavicongenerator.net you’ll get a nice little kit to download and unzip that will contain a bunch of resources. The same thing can be said of https://favicomatic.com. Combine the two and you get sh$t tons of favicon files.
Using RealFaviconGenerator
Click the blue button and give it an image.
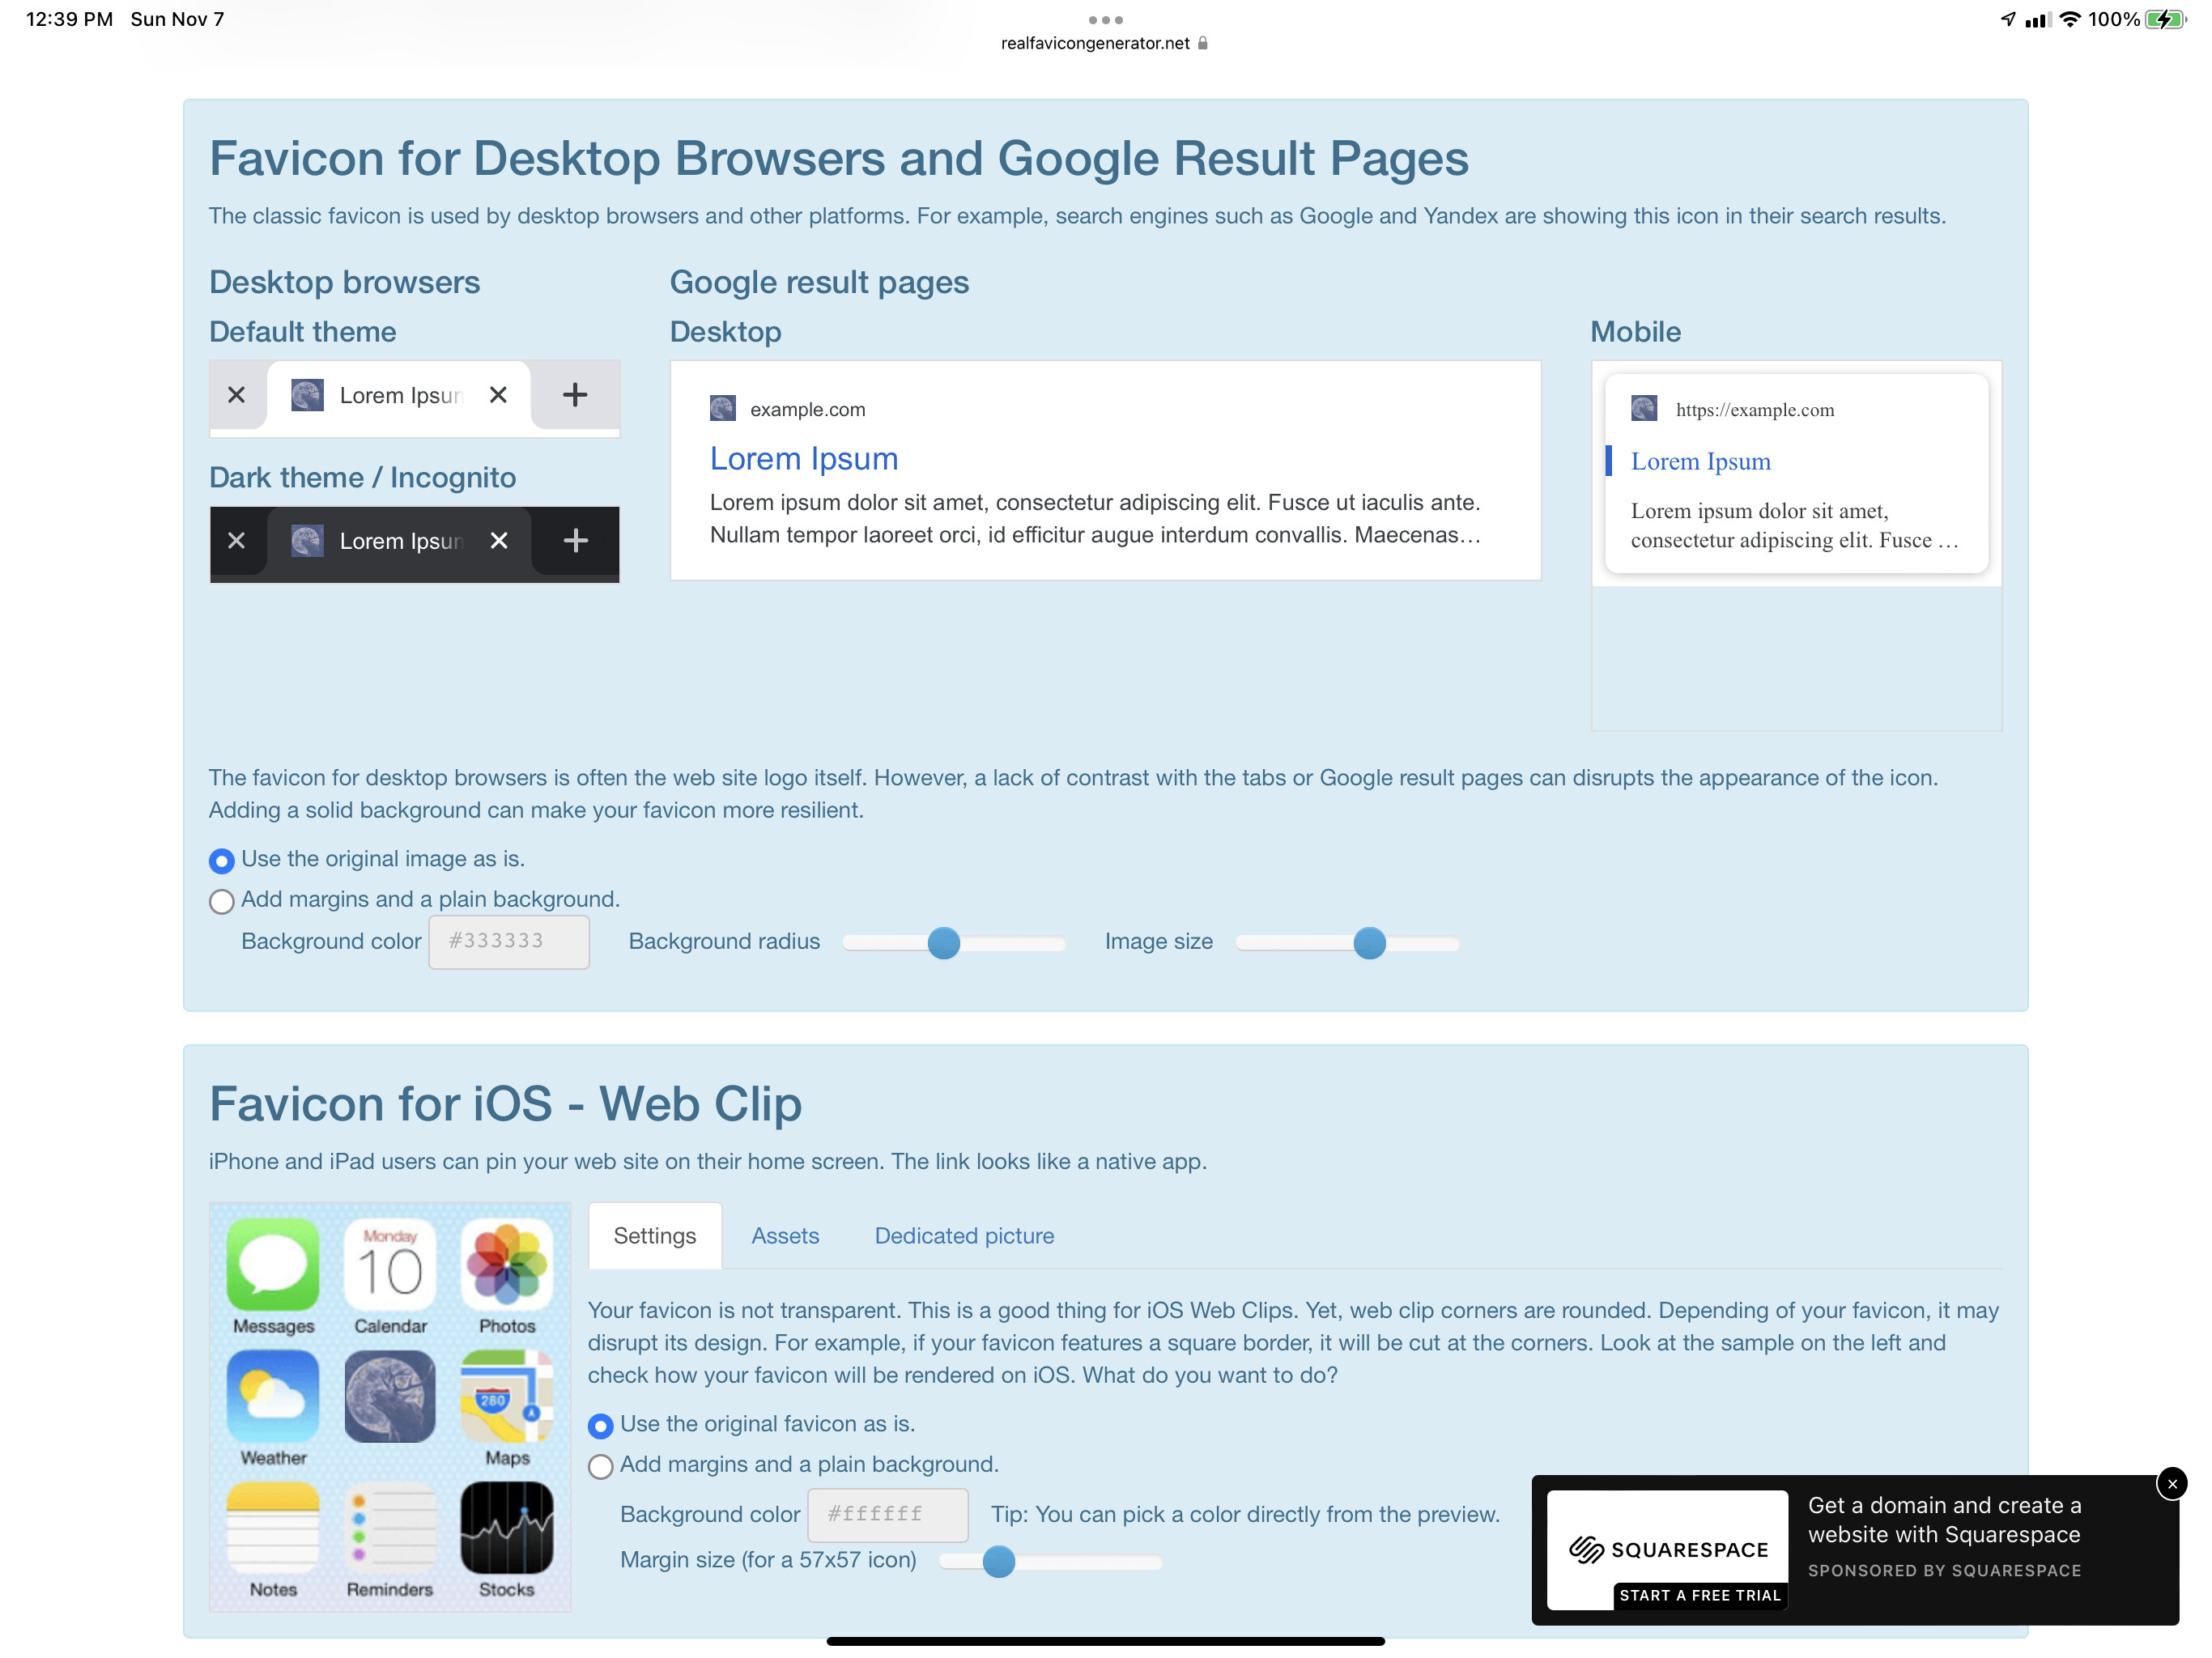
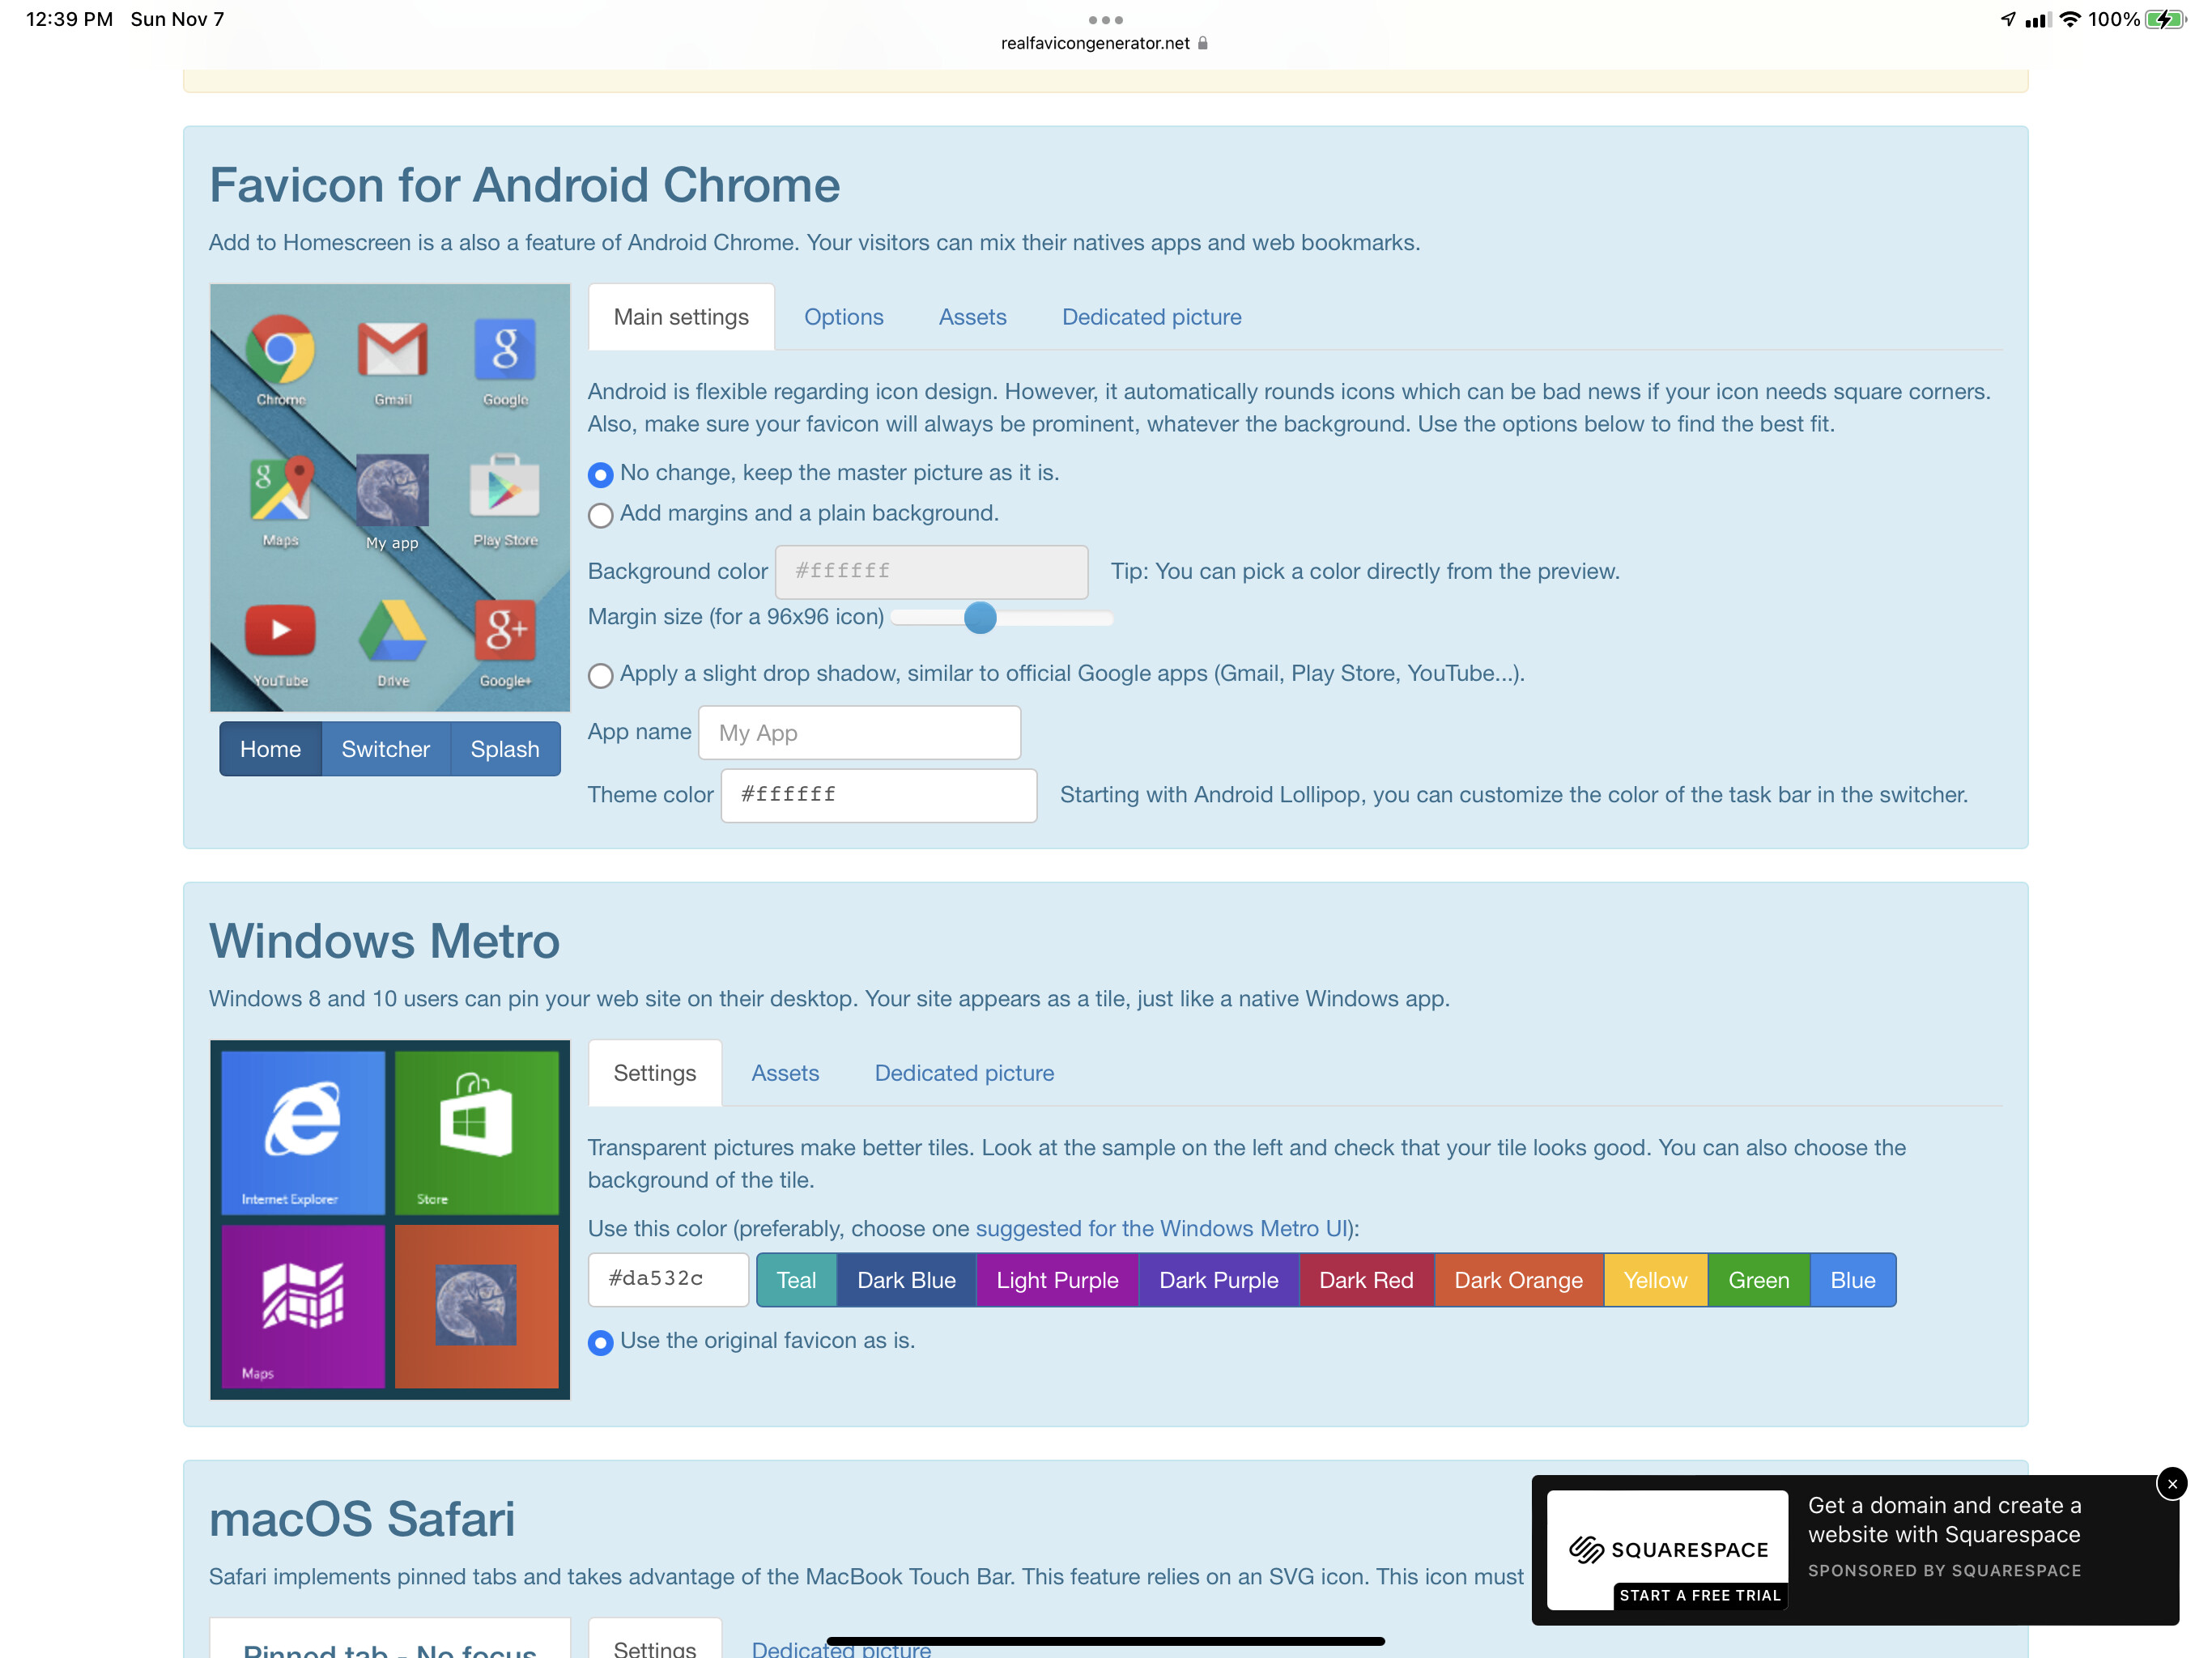
Configure your options.
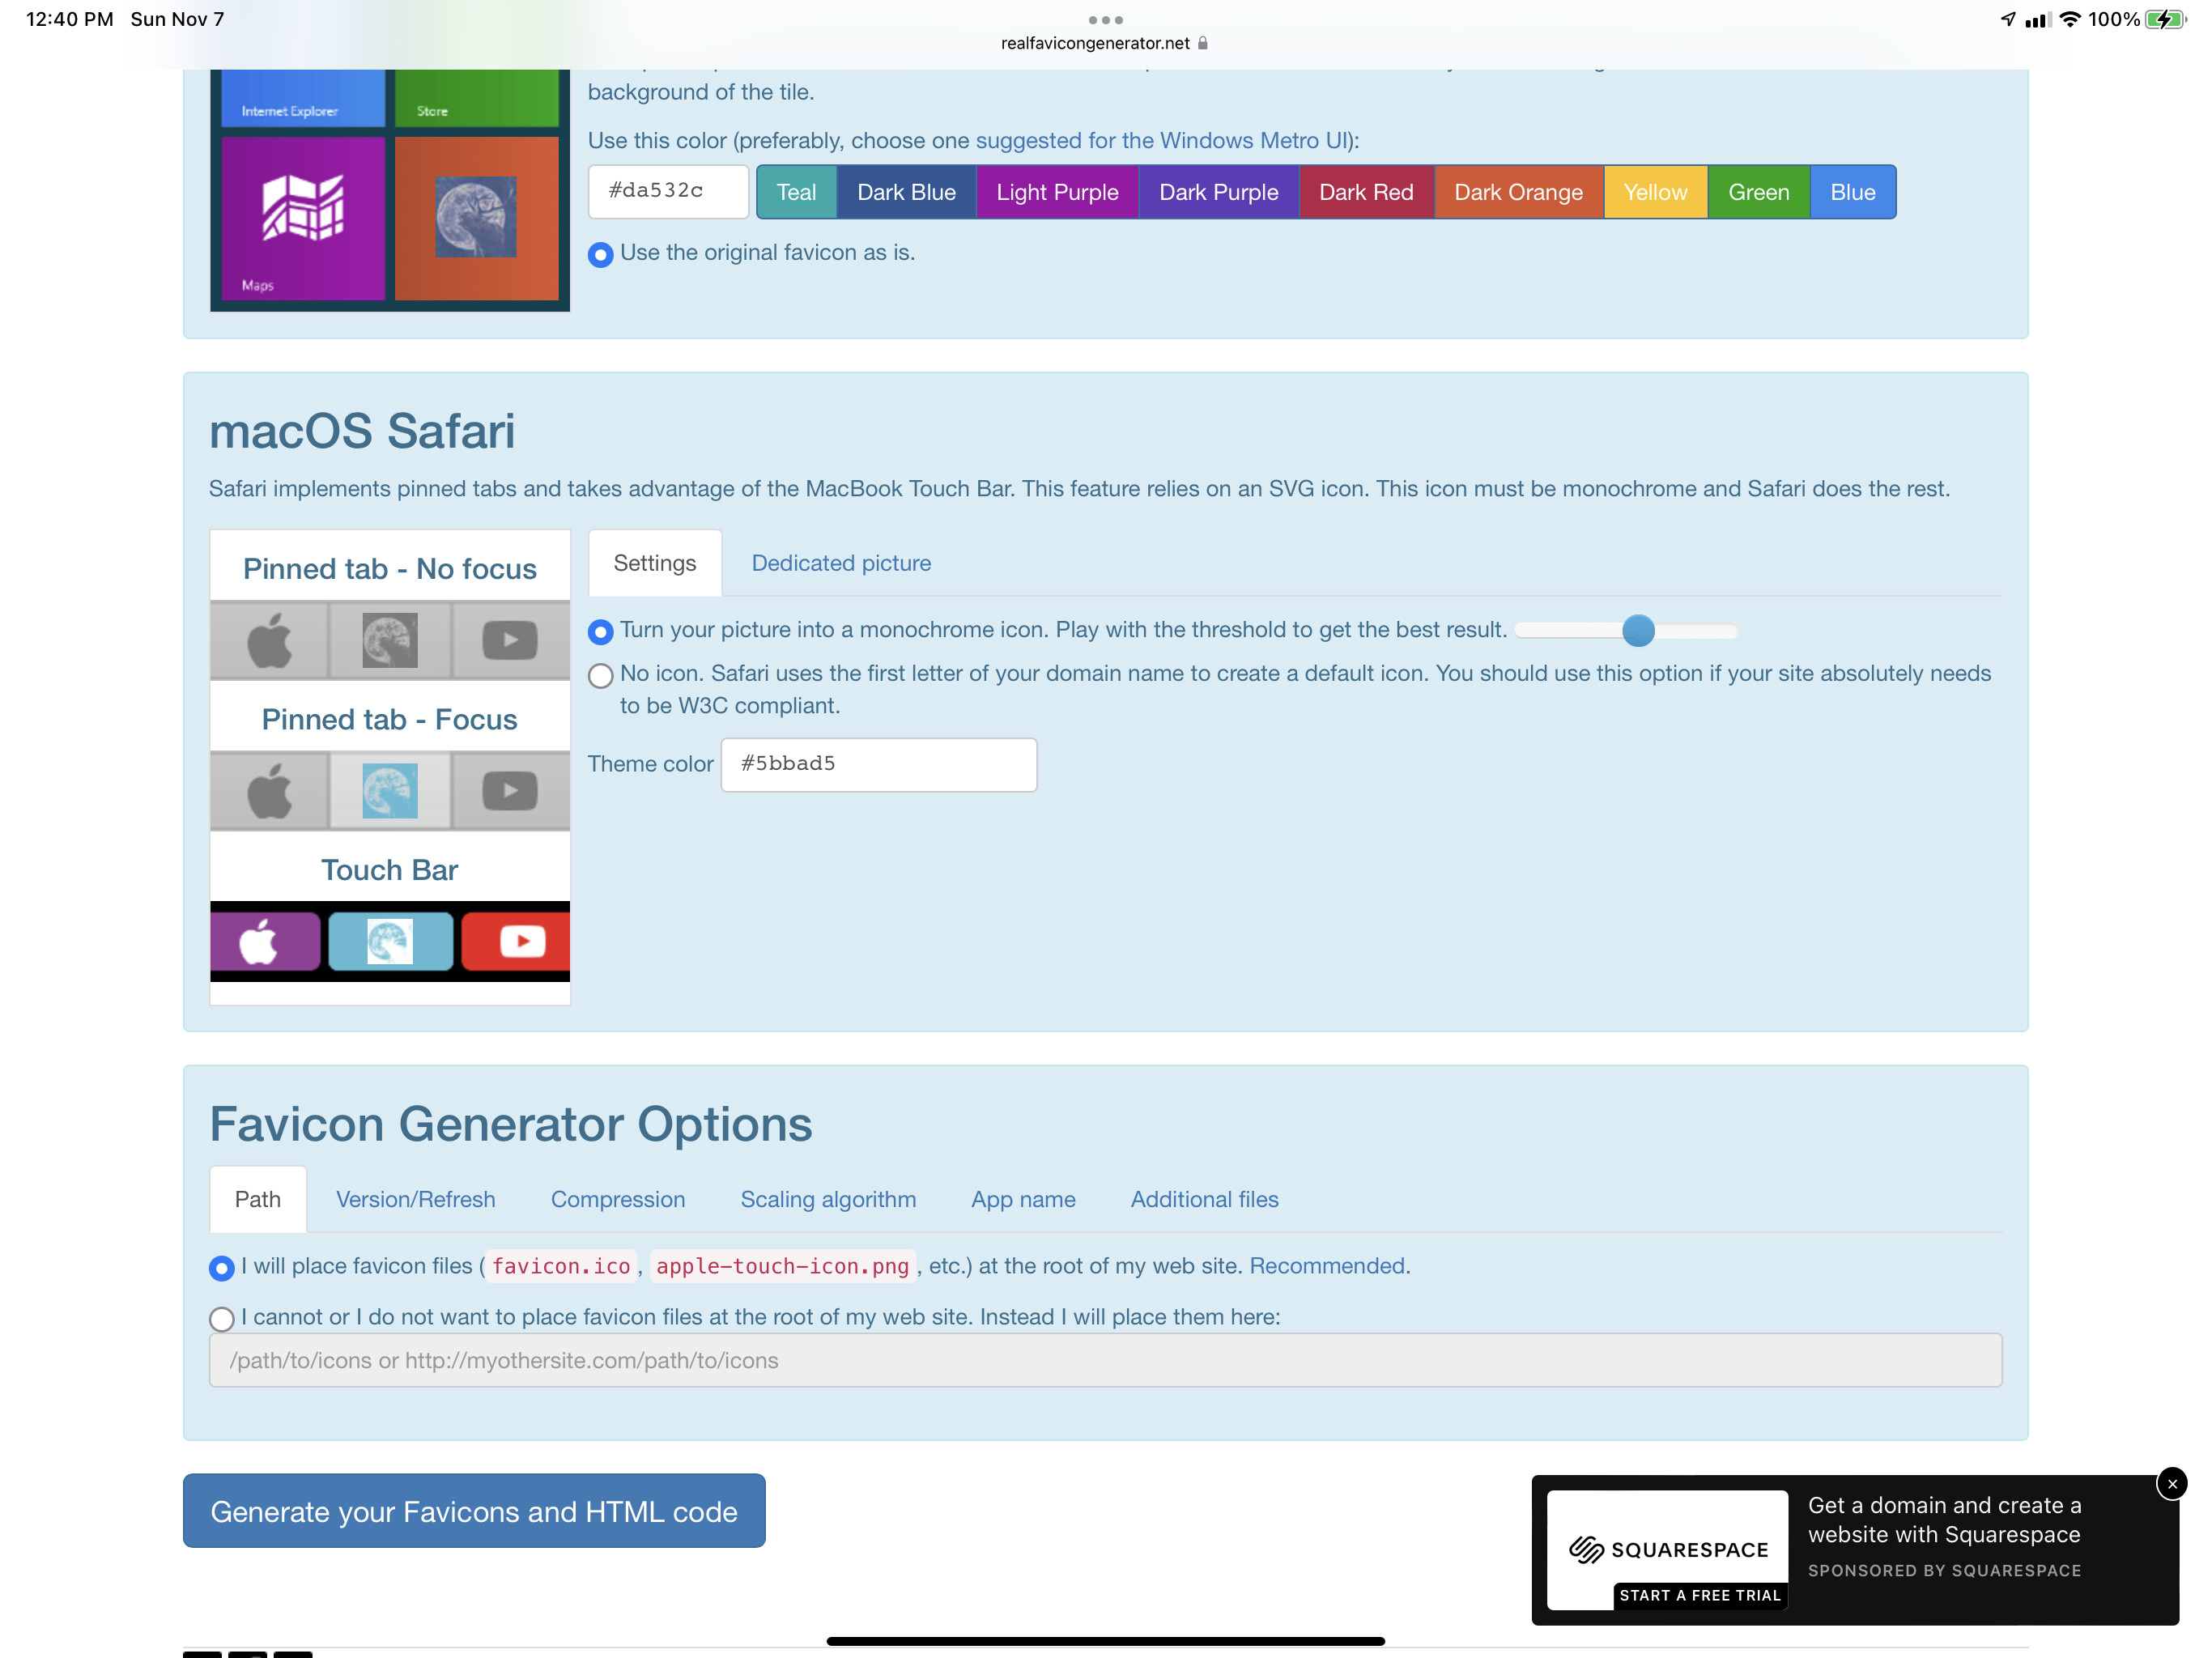
Then download the package by clicking the blue button.
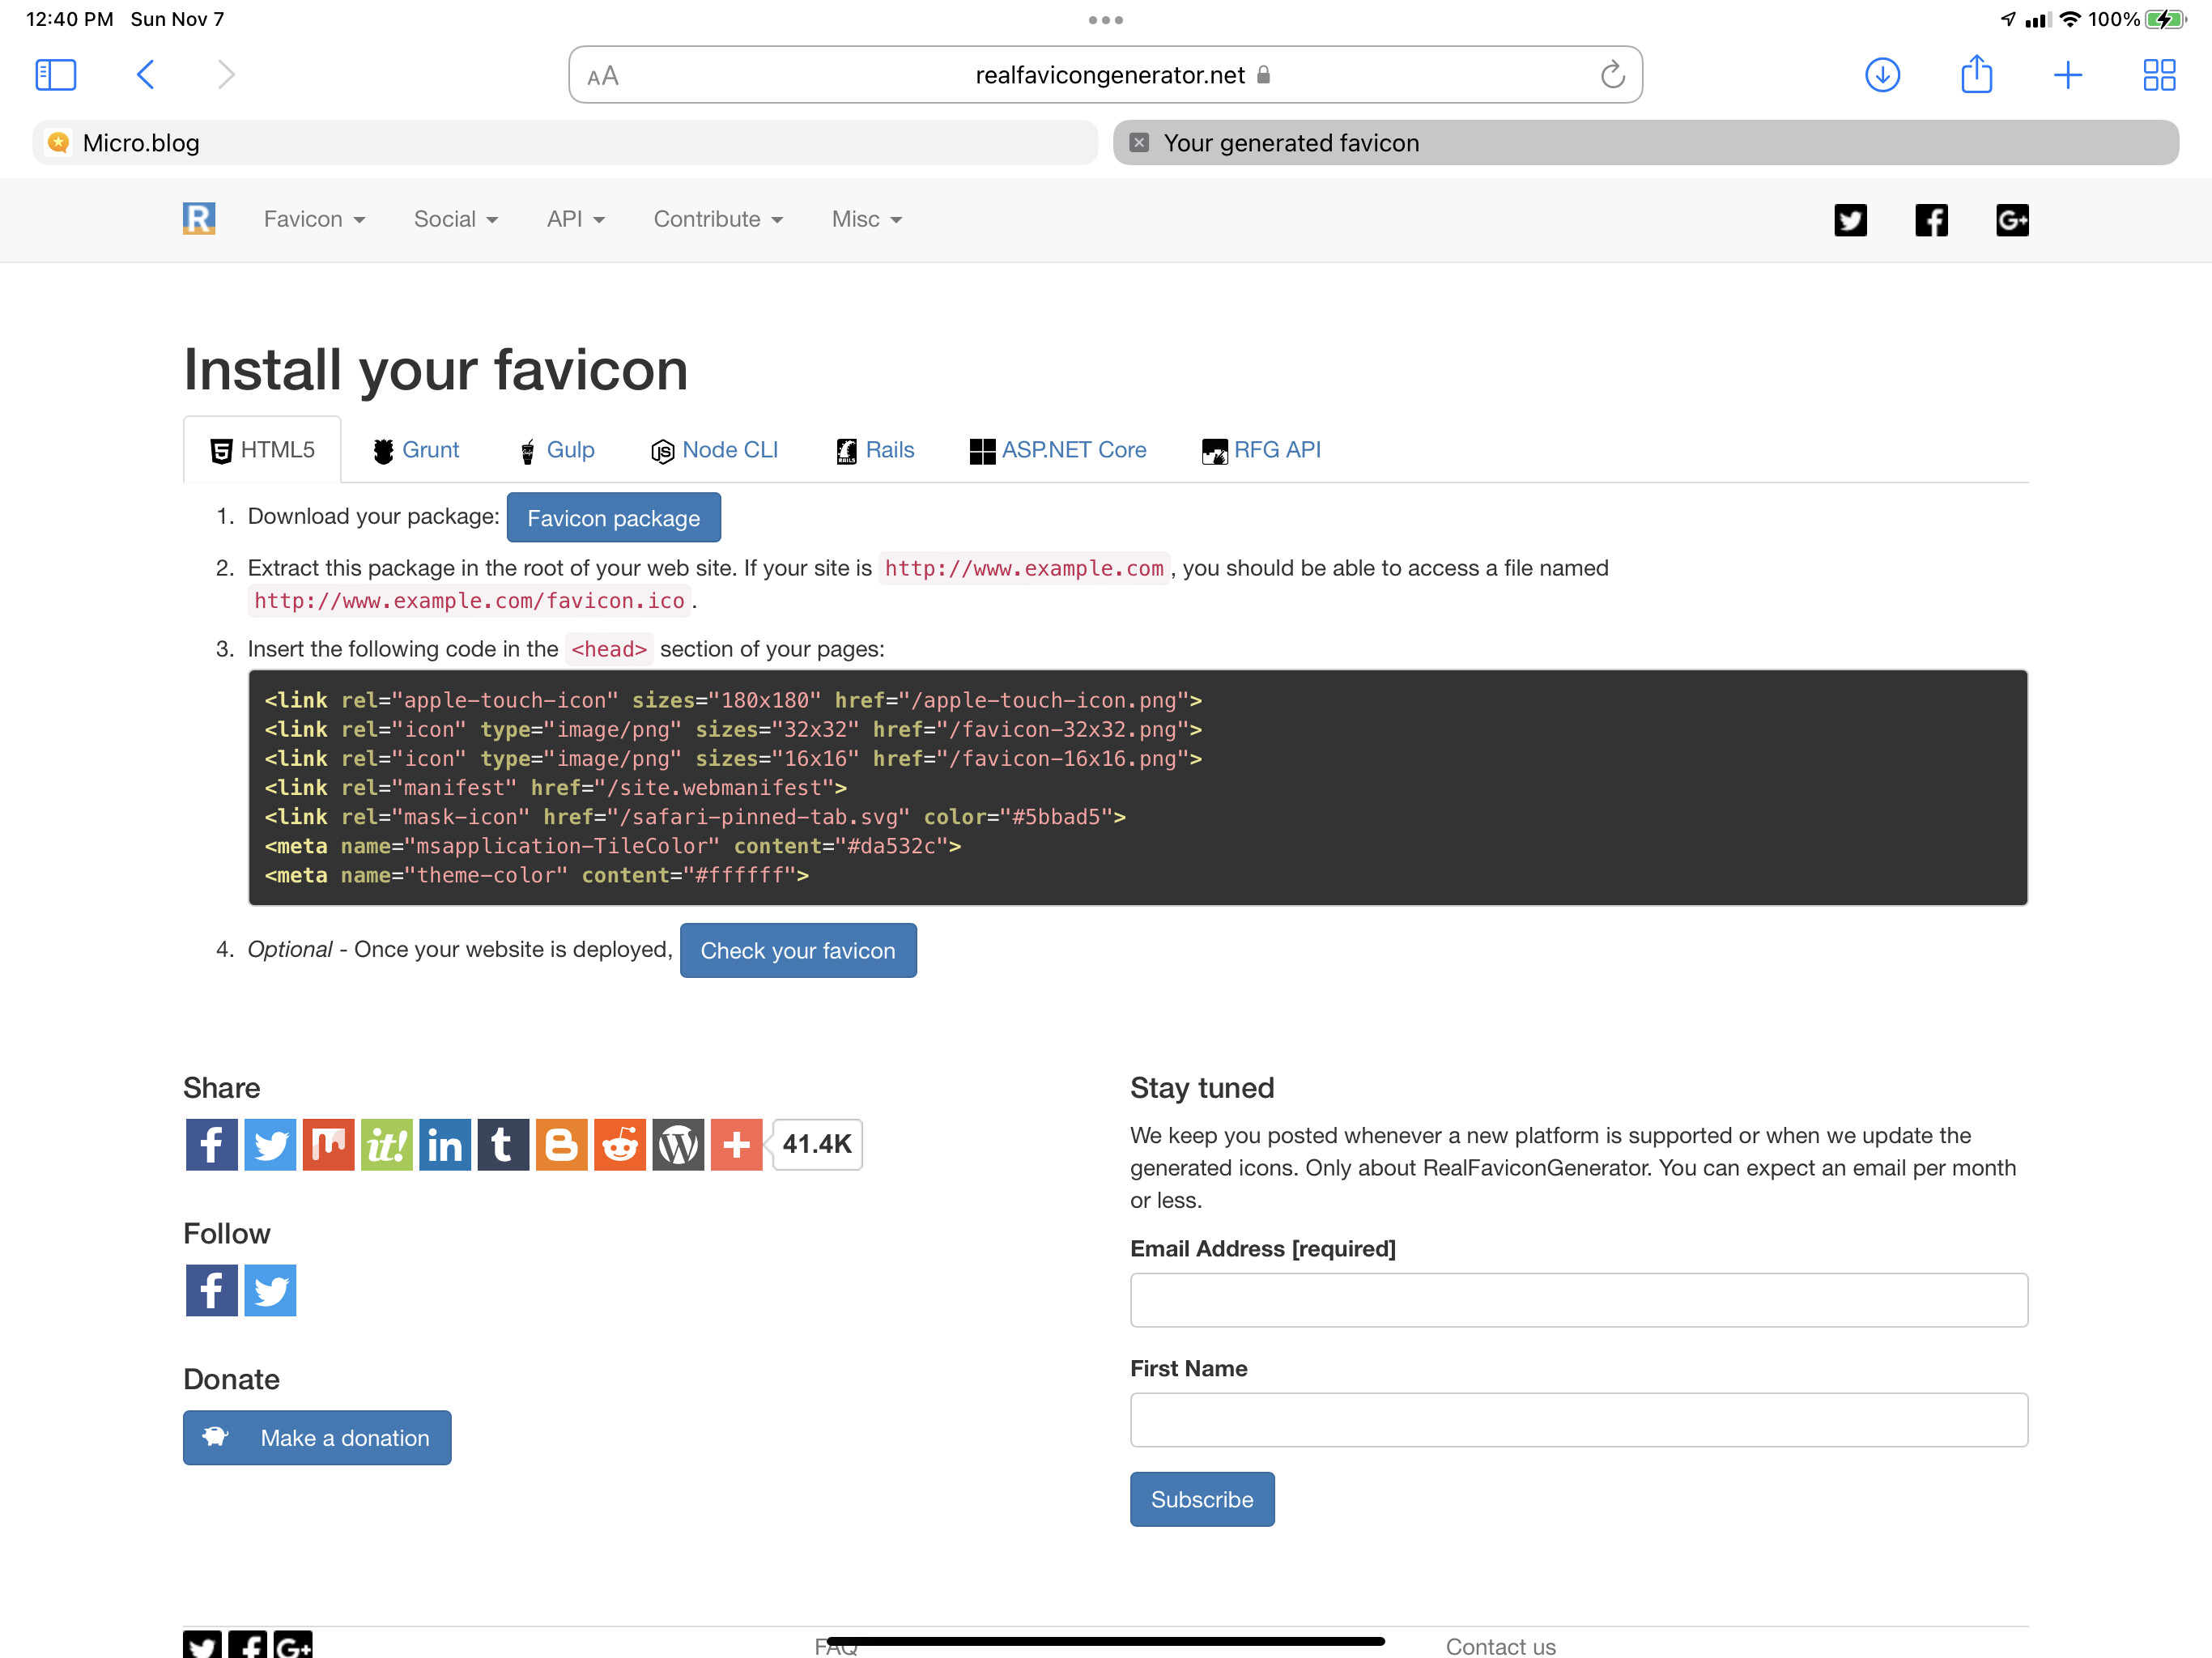
The chunk of code on display contains the injectable bits you got from using RealFaviconGenerator:
<link rel="apple-touch-icon" sizes="180x180" href="/apple-touch-icon.png">
<link rel="icon" type="image/png" sizes="32x32" href="/favicon-32x32.png">
<link rel="icon" type="image/png" sizes="16x16" href="/favicon-16x16.png">
<link rel="manifest" href="/site.webmanifest">
<link rel="mask-icon" href="/safari-pinned-tab.svg" color="#5bbad5">
<meta name="msapplication-TileColor" content="#da532c">
<meta name="theme-color" content="#ffffff">
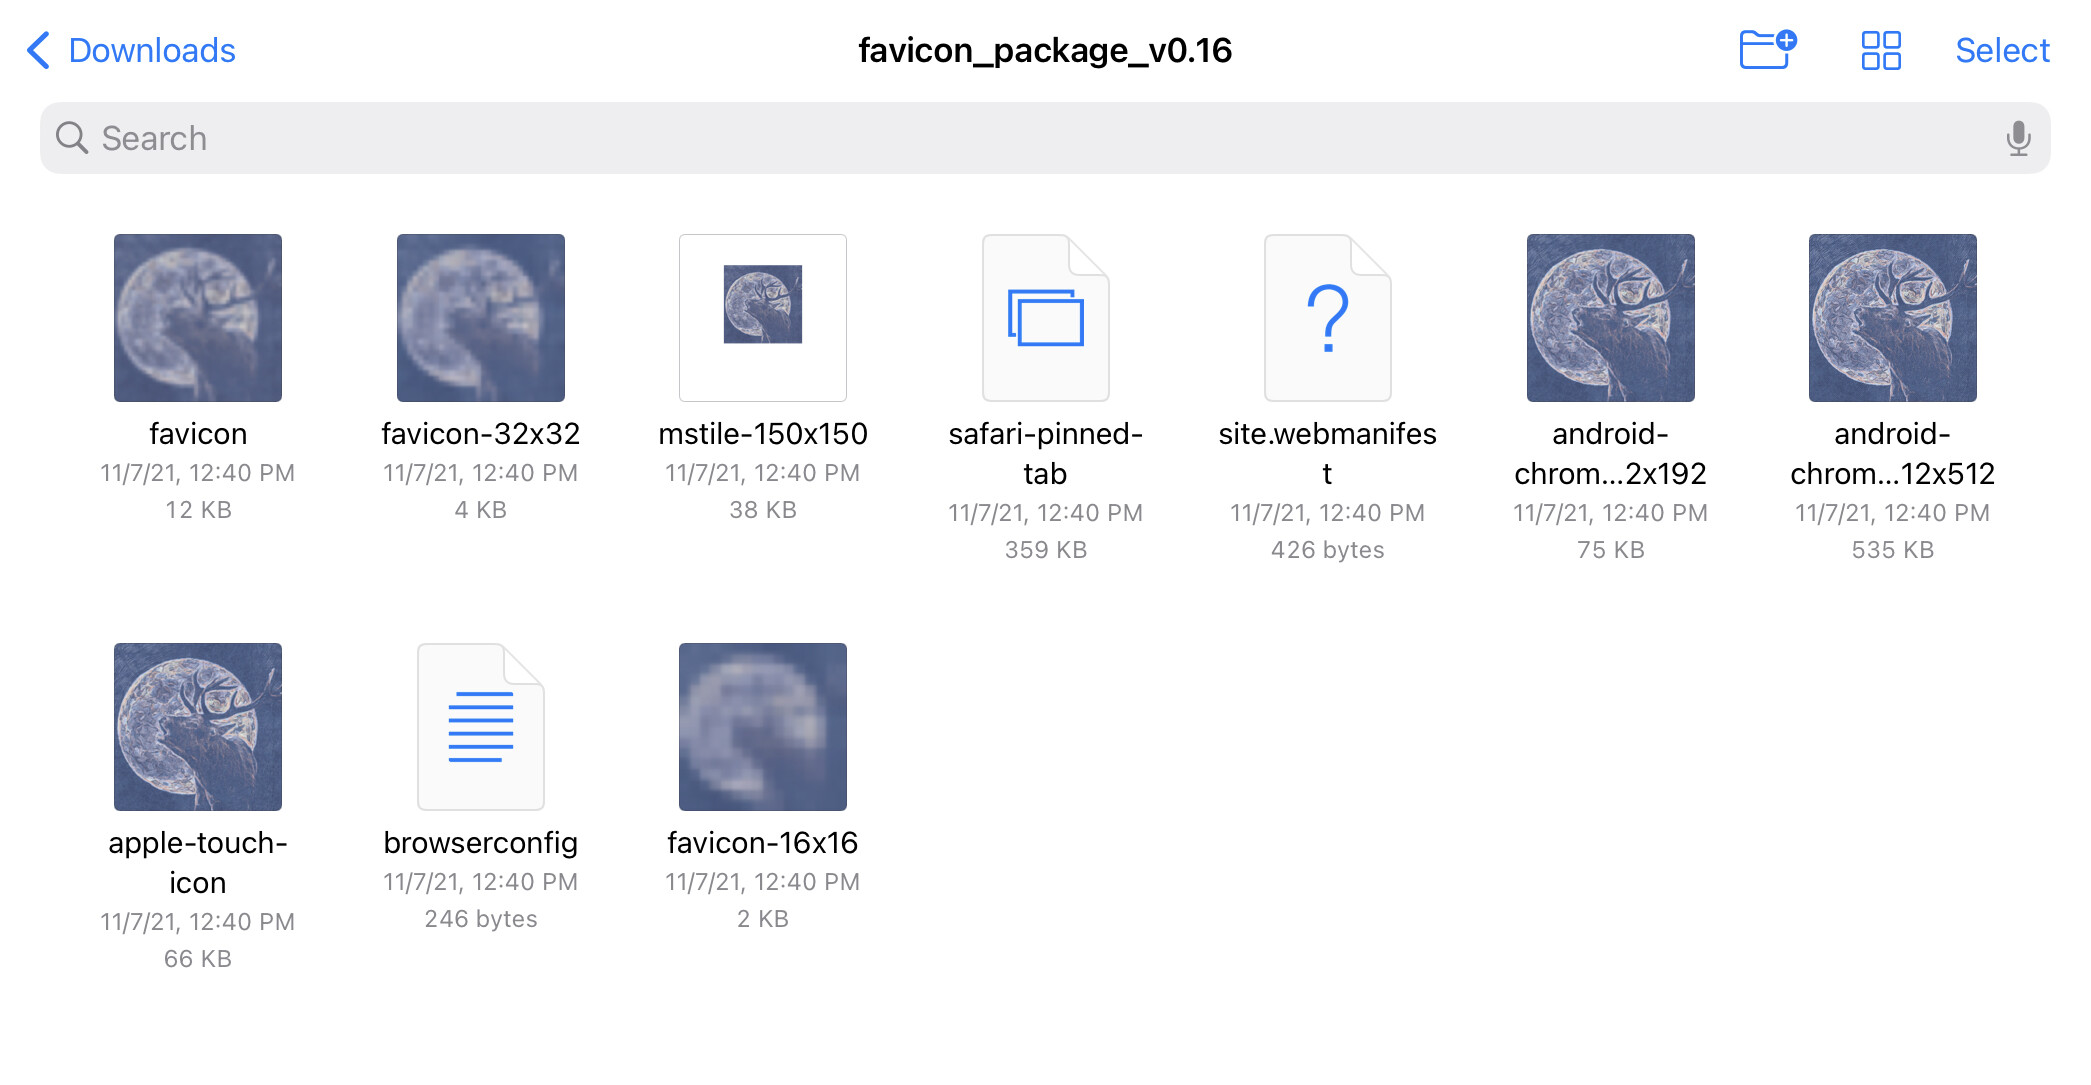
Unzip your favicon package, you get something kinda like:
Using Favic-O-Matic
If you want it all, start by selecting Every damn size, sir!.
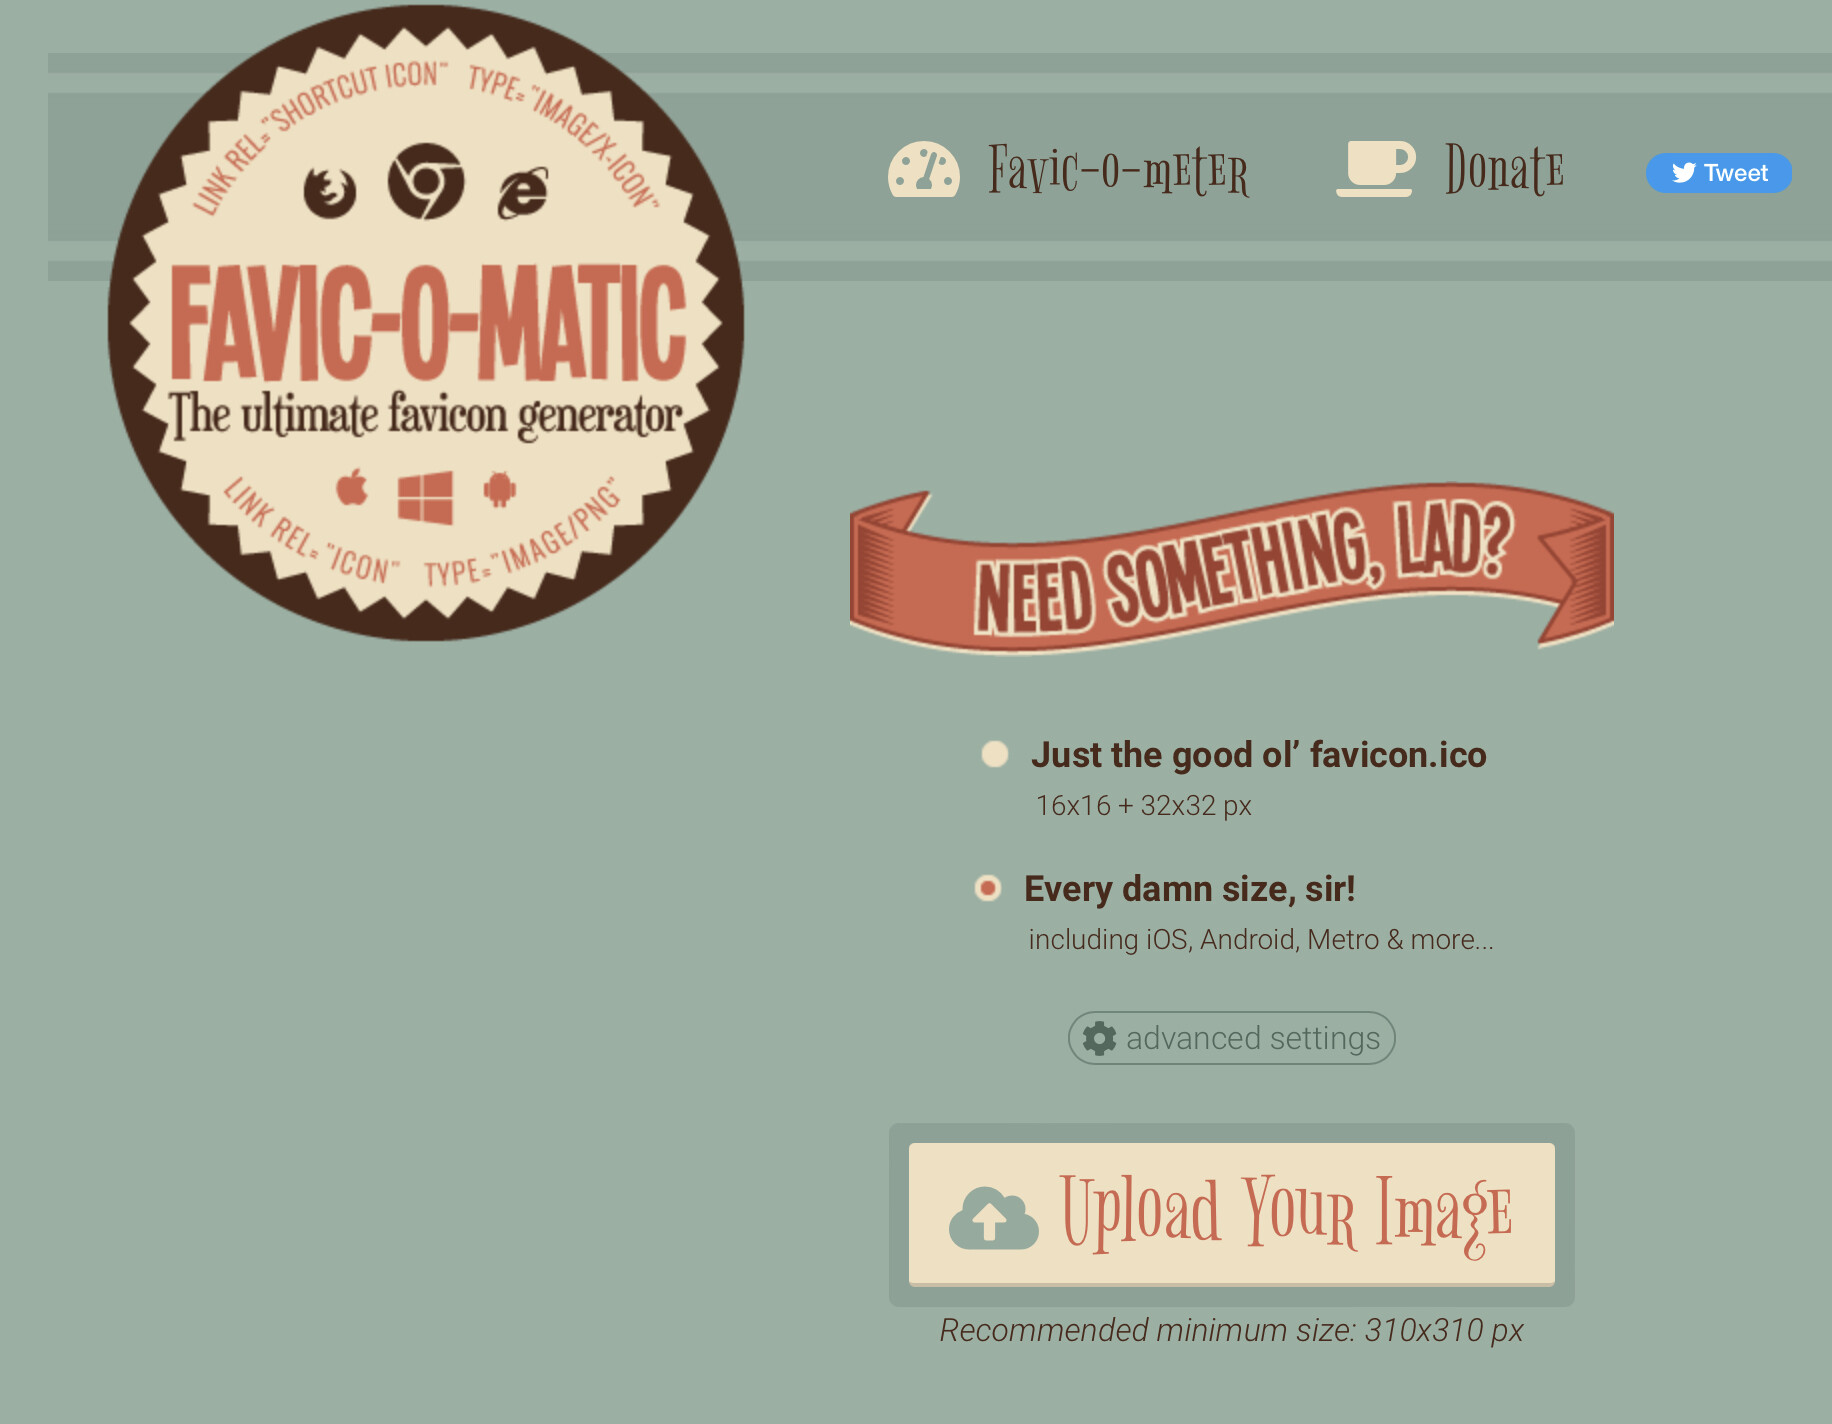
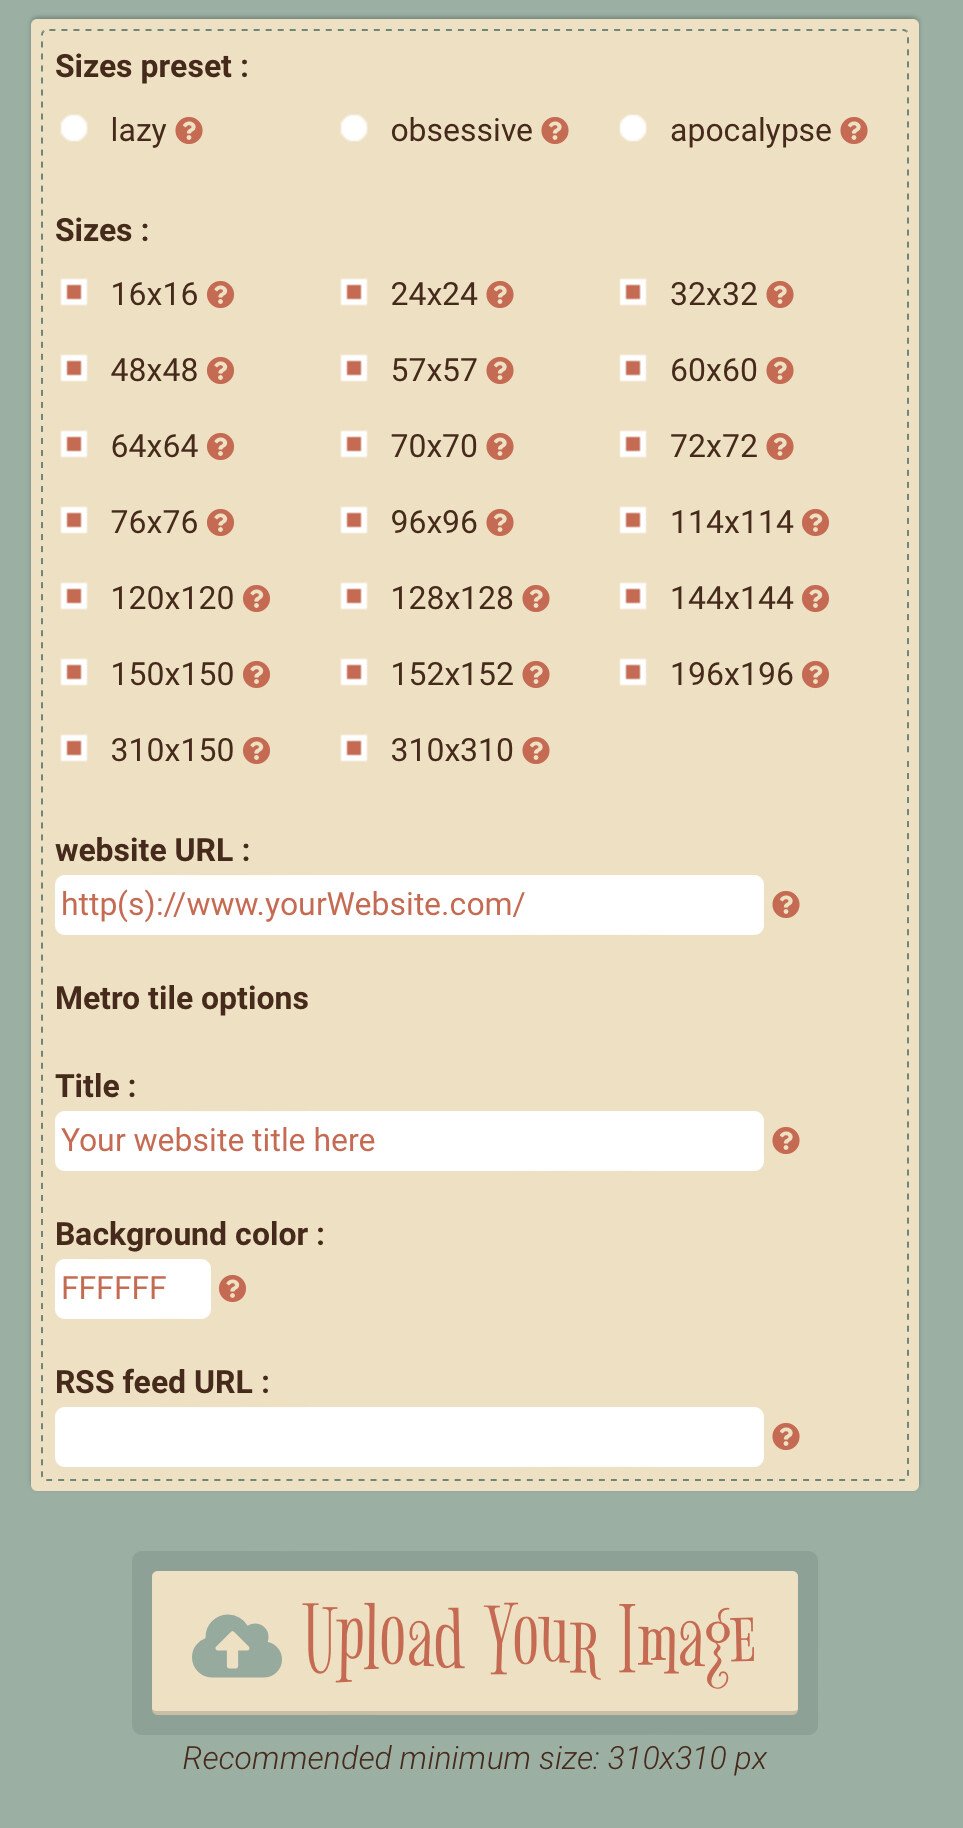
If you really want it all, click advanced settings and starting ticking boxes.
Download and zip … you oughta have something kinda like:
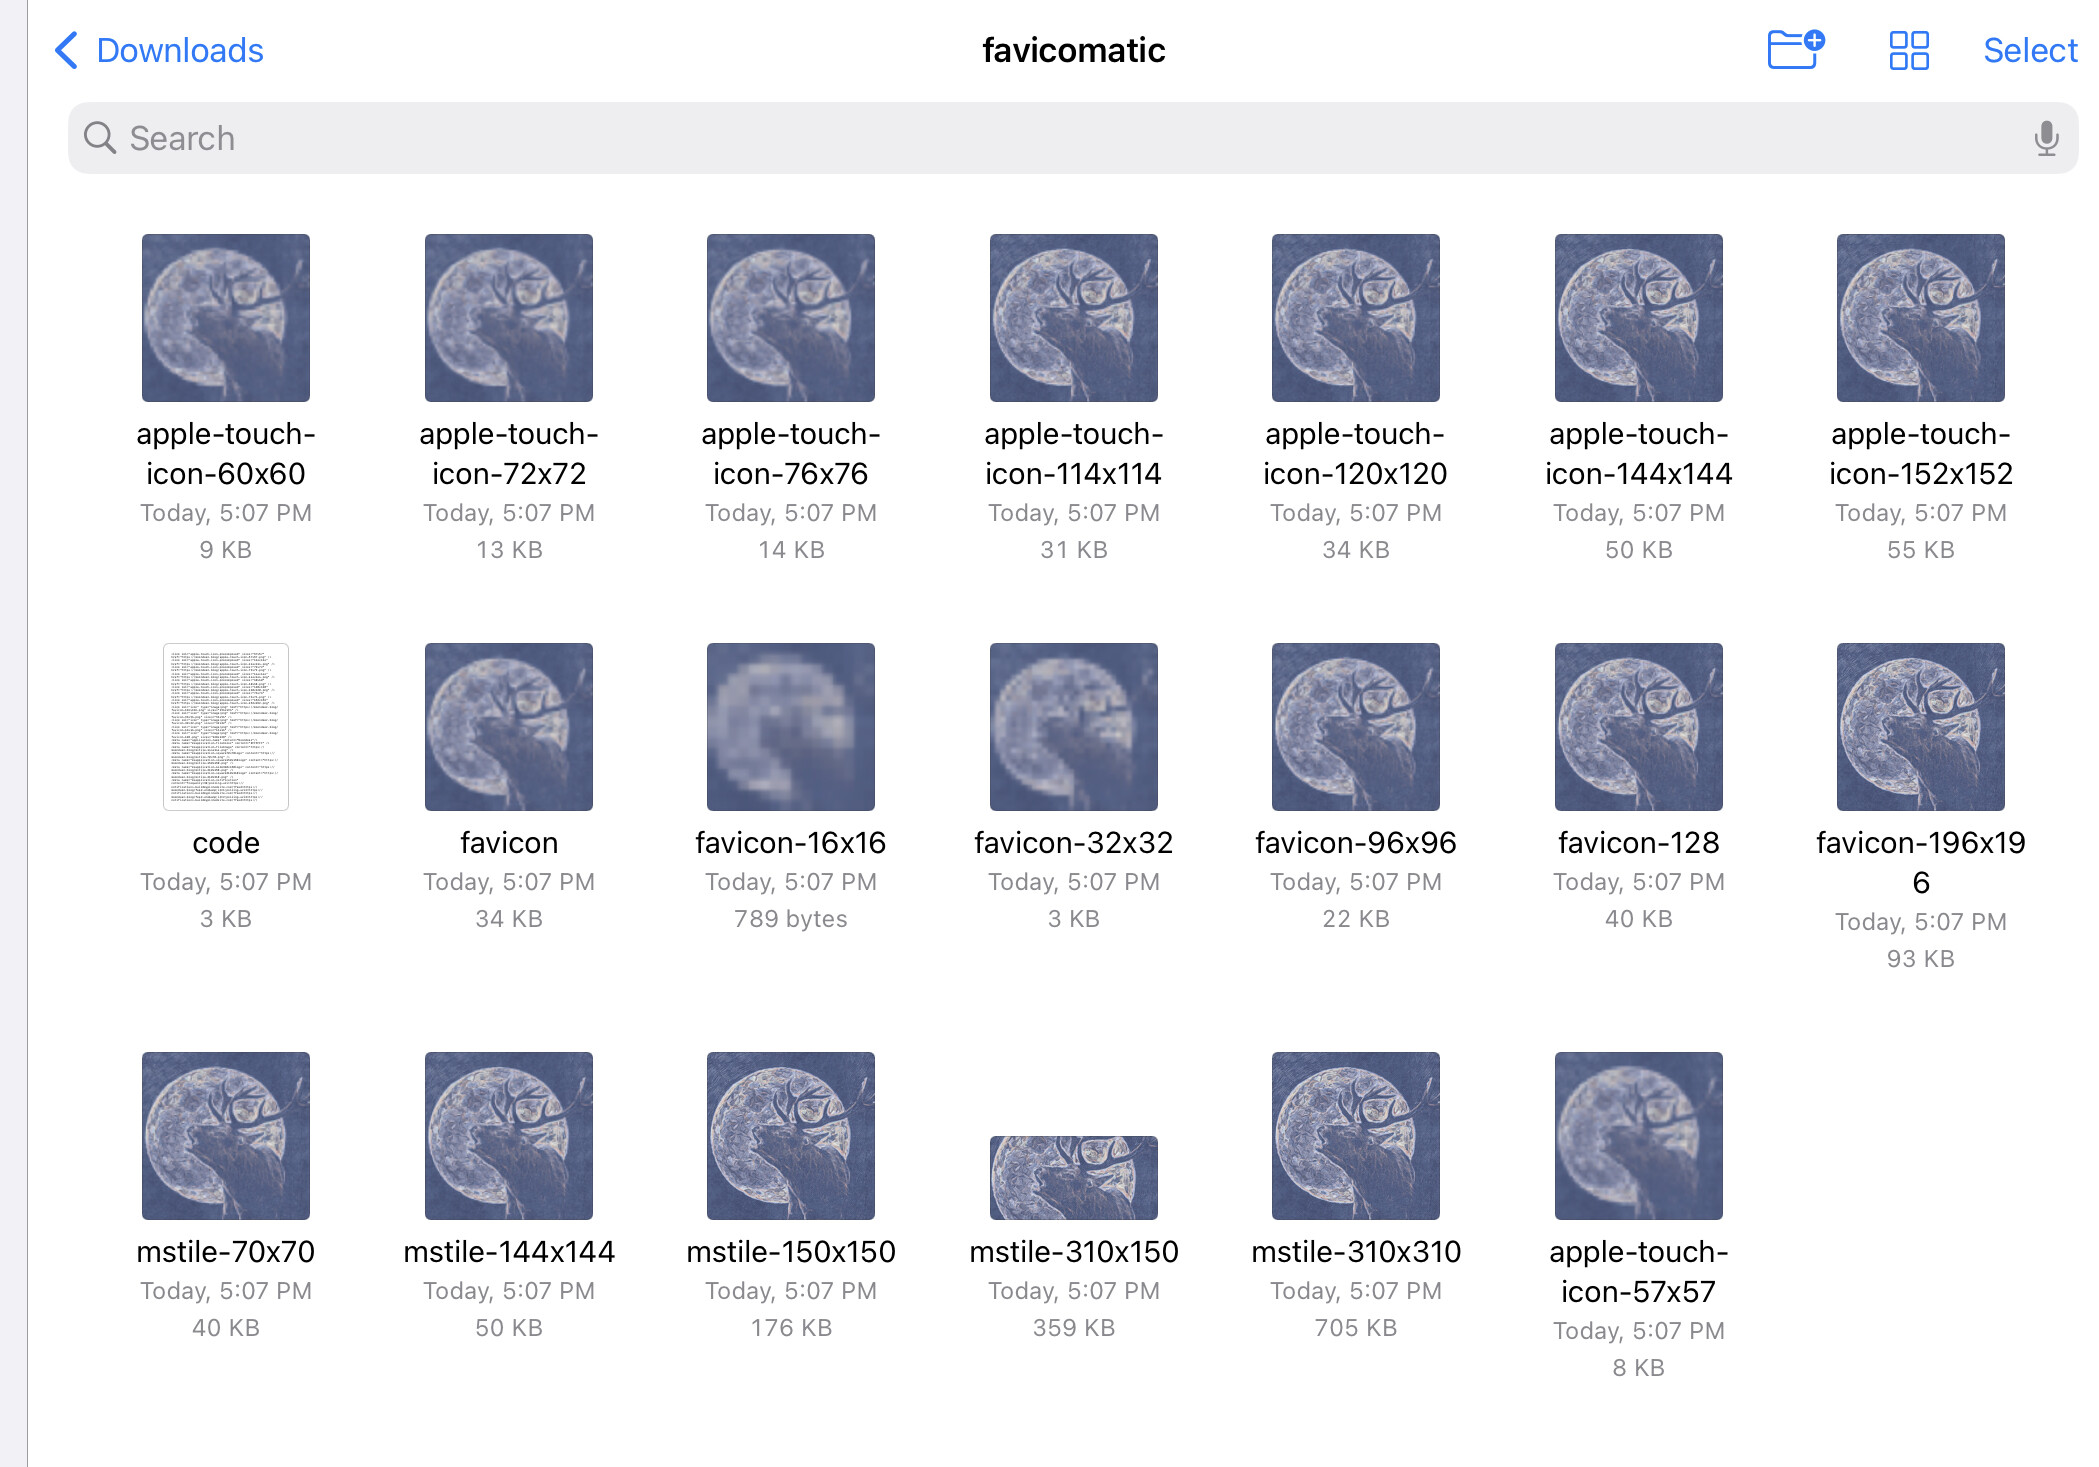
The chunk of code in code.txt contains the injectable bits you got from the Favic-O-Matic generator:
<link rel="apple-touch-icon-precomposed" sizes="57x57" href="https://moondeer.blog/apple-touch-icon-57x57.png" />
<link rel="apple-touch-icon-precomposed" sizes="114x114" href="https://moondeer.blog/apple-touch-icon-114x114.png" />
<link rel="apple-touch-icon-precomposed" sizes="72x72" href="https://moondeer.blog/apple-touch-icon-72x72.png" />
<link rel="apple-touch-icon-precomposed" sizes="144x144" href="https://moondeer.blog/apple-touch-icon-144x144.png" />
<link rel="apple-touch-icon-precomposed" sizes="60x60" href="https://moondeer.blog/apple-touch-icon-60x60.png" />
<link rel="apple-touch-icon-precomposed" sizes="120x120" href="https://moondeer.blog/apple-touch-icon-120x120.png" />
<link rel="apple-touch-icon-precomposed" sizes="76x76" href="https://moondeer.blog/apple-touch-icon-76x76.png" />
<link rel="apple-touch-icon-precomposed" sizes="152x152" href="https://moondeer.blog/apple-touch-icon-152x152.png" />
<link rel="icon" type="image/png" href="https://moondeer.blog/favicon-196x196.png" sizes="196x196" />
<link rel="icon" type="image/png" href="https://moondeer.blog/favicon-96x96.png" sizes="96x96" />
<link rel="icon" type="image/png" href="https://moondeer.blog/favicon-32x32.png" sizes="32x32" />
<link rel="icon" type="image/png" href="https://moondeer.blog/favicon-16x16.png" sizes="16x16" />
<link rel="icon" type="image/png" href="https://moondeer.blog/favicon-128.png" sizes="128x128" />
<meta name="application-name" content="Moondeer"/>
<meta name="msapplication-TileColor" content="#FFFFFF" />
<meta name="msapplication-TileImage" content="https://moondeer.blog/mstile-144x144.png" />
<meta name="msapplication-square70x70logo" content="https://moondeer.blog/mstile-70x70.png" />
<meta name="msapplication-square150x150logo" content="https://moondeer.blog/mstile-150x150.png" />
<meta name="msapplication-wide310x150logo" content="https://moondeer.blog/mstile-310x150.png" />
<meta name="msapplication-square310x310logo" content="https://moondeer.blog/mstile-310x310.png" />
<meta name="msapplication-notification" content="frequency=30;polling-uri=https://notifications.buildmypinnedsite.com/?feed=https://moondeer.blog/feed.xml&id=1;polling-uri2=https://notifications.buildmypinnedsite.com/?feed=https://moondeer.blog/feed.xml&id=2;polling-uri3=https://notifications.buildmypinnedsite.com/?feed=https://moondeer.blog/feed.xml&id=3;polling-uri4=https://notifications.buildmypinnedsite.com/?feed=https://moondeer.blog/feed.xml&id=4;polling-uri5=https://notifications.buildmypinnedsite.com/?feed=https://moondeer.blog/feed.xml&id=5;cycle=1" />
Refining Resources
The first thing you get to do is throw any .ico files in the trash. The currently is now way that I’ve found to get them onto the server. Should you manage the impossible, the plugin does have parameters you can set to let it know.
Side note: I also went down a base64 rabbit hole with the .ico file. I found no use for it. If you want to piddle anyway, you can convert your .ico into base64 here and paste the value into a plugin parameter.
Okay, so I documented the sh$t out of the data file template. I recommend using it. It looks like this:
# Parameters derived from the use of https://realfavicongenerator.net
# to generate favicon assets.

# General theme color for the site (used by Mobile Safari in iOS 15 to paint the background of the status bar).
# ThemeColor = "#FFFFFF"

[Apple]

# Path to the 180x180 pixel image.
#
# TouchIcon = "apple-touch-icon.png"

# Path to the 57x57 pixel image.
#
# x57 = "/apple-touch-icon-57x57.png"

# Path to the 114x114 pixel image.
#
# x114 = "/apple-touch-icon-114x114.png"

# Path to the 72x72 pixel image.
#
# x72 = "/apple-touch-icon-72x72.png"

# Path to the 144x144 pixel image.
#
# x144 = "/apple-touch-icon-144x144.png"

# Path to the 60x60 pixel image.
#
# x60 = "/apple-touch-icon-60x60.png"

# Path to the 120x120 pixel image.
#
# x120 = "/apple-touch-icon-120x120.png"

# Path to the 76x76 pixel image.
#
# x76 = "/apple-touch-icon-76x76.png"

# Path to the 152x152 pixel image.
#
# x152 = "/apple-touch-icon-152x152.png"

# Path to the Safari pinned tab SVG file.
# You can create a template file and paste in your SVG or include the file
# in a custom theme GitHub repository. For it to be at the root, the location would
# be static/safari-pinned-tab.svg
#
# SafariPinnedTab = "/safari-pinned-tab.svg"

[Favicon]

# Path to an SVG favicon image.
#
# svg = "/favicon.svg"

# Path to the 196x196 pixel image.
#
# x196 = "/favicon-196x196.png"

# Path to the 128x128 pixel image.
#
# x128 = "/favicon-128x128.png"

# Path to the 96x96 pixel image.
#
# x96 = "/favicon-96x96.png"

# Path to the 32x32 pixel image.
#
# x32 = "favicon-32x32.png"

# Path to the 16x16 pixel image.
#
# x16 = "favicon-16x16.png"

# Path to regular image. If you upload an ico image it gets converted to jpg
#
# ico = "favicon.ico"

# Base64 ico image.
# You can convert .ico to base64 here: https://base64.guru/converter/encode/image/ico
#
# icoBase64 = "base64"

[AndroidChrome]

# Short name for app-like button.
#
# Name = "Short Name"

# Path to the 192x192 pixel image.
#
# x192 = "android-chrome-192x192.png"

# Path to the 512x512 pixel image.
#
# x512 = "android-chrome-512x512.png"

# Theme color to use in the webmanifest.
#
# ThemeColor = "#FFFFFF"

# Background color to use in the webmanifest.
#
# BackgroundColor = "#FFFFFF"

################################
# Using the AndroidChrome assets
################################

# OPTION 1: Manual File Creation
#
# In this plugin or your custom theme, create template 'static/manifest.json'
#
# Replace bracketed variable names with their values.
#
# {
#     "name": "[AndroidChrome.Name]",
#     "short_name": "[AndroidChrome.Name]",
#     "icons": [
#         {
#             "src": "[AndroidChrome.x192]",
#             "sizes": "192x192",
#             "type": "image/png"
#         },
#         {
#             "src": "[AndroidChrome.x512]",
#             "sizes": "512x512",
#             "type": "image/png"
#         }
#     ],
#     "theme_color": "[AndroidChrome.ThemeColor]",
#     "background_color": "[AndroidChrome.BackgroundColor]",
#     "display": "standalone"
# }

# If you went and stuck the file somewhere else, set this variable and uncomment it.
#
# Webmanifest = "/manifest.json"

# OPTION 2: Automatic File Creation
#
# Create a template in your custom theme located at config/_default/mediaTypes.toml
# and add the following media type:
#
# ["application/manifest+json"]
# suffixes = [ "json", "webmanifest" ]
#
# Create a template in your custom theme located at config/_default/outputFormats.toml
# and add the following output format:
#
# [WebAppManifest]
# mediaType = "application/manifest+json"
# baseName = "manifest"
# rel = "manifest"
# isPlainText = true
# isHTML = false
# notAlternative = true
#
# Scroll down to the blank theme files in your custom theme and open config.json.
# Look for the 'outputs' key and then the 'home' key. Copy all the current outputs
# for 'home'.
#
# Create a template in your custom theme located at config/_default/outputs.toml
# Create an entry for 'home' with all those copied output values. Then add one more
# called 'WebAppManifest'. My file looks like this.
#
# home = [
#   "HTML",
#   "RSS",
#   "JSON",
#   "RSD",
#   "ArchiveHTML",
#   "ArchiveJSON",
#   "PhotosJSON",
#   "PodcastXML",
#   "PodcastJSON",
#   "WebAppManifest",
#   "BrowserConfig"
#   ]
#
# You should now be configured to build a json file in your root directory called 'manifest.json'.
# Make sure the 'Webmanifest' variable under option 1 is commented out or set to '/manifest.json'.


[MSTile]

# Short name for app-like button.
#
# ApplicationName = "Short Name"

# Path to the 70x70 pixel image.
#
# x70 = "/mstile-70x70.png"

# Path to the 144x144 pixel image.
#
# x144 = "/mstile-144x144.png"

# Path to the 150x150 pixel image.
#
# x150 = "/mstile-150x150.png"

# Path to the 310x150 pixel image.
#
# Widex150 = "/mstile-310x150.png"

# Path to the 310x310 pixel image.
#
# x310 = "/mstile-310x310.png"

# The tile color behind the 150x150 pixel image.
#
# TileColor = "#DA532C"

################################
# Using the MSTile assets
################################

# OPTION 1: Manual File Creation
#
# In this plugin or your custom theme, create a template 'static/browserconfig.xml'
#
# Replace bracketed variable names with their values.
#
# <?xml version="1.0" encoding="utf-8"?>
# <browserconfig>
#   <msapplication>
#     <tile>
#       <square70x70logo src="[MSTile.x70]"/>
#       <square144x144logo src="[MSTile.x144]"/>
#       <square150x150logo src="[MSTile.x150]"/>
#       <wide310x150logo src="[MSTile.Widex150]"/>
#       <square310x310logo src="[MSTile.x310]"/>
#       <TileColor>[MSTile.TileColor]</TileColor>
#     </tile>
#   </msapplication>
# </browserconfig>

# If you went and stuck the file somewhere else, set this value and uncomment.
#
# BrowserConfig = "/browserconfig.xml"

# OPTION 2: Automatic File Creation
#
# Create a template (or append if you did this for the manifest) in your custom
# theme located at config/_default/outputFormats.toml and add the following output format:
#
# [BrowserConfig]
# mediaType = "application/xml"
# baseName = "browserconfig"
# isPlainText = true
# isHTML = false
# notAlternative = true
#
# Scroll down to the blank theme files in your custom theme and open config.json.
# Look for the 'outputs' key and then the 'home' key. Copy all the current outputs
# for 'home'.
#
# Create a template in your custom theme located at config/_default/outputs.toml
# Create an entry for 'home' with all those copied output values. Then add one more
# called 'BrowserConfig'. My file looks like this.
#
# home = [
#   "HTML",
#   "RSS",
#   "JSON",
#   "RSD",
#   "ArchiveHTML",
#   "ArchiveJSON",
#   "PhotosJSON",
#   "PodcastXML",
#   "PodcastJSON",
#   "WebAppManifest",
#   "BrowserConfig"
#   ]
#
# You should now be configured to build a json file in your root directory called 'manifest.json'.
# Make sure the 'BrowserConfig' variable under option 1 is commented out or set to '/browserconfig.xml'.
Go to the Design tab, click Edit Custom Themes, click this plugin, and find the above file (data/plugin_favicons/params.toml).
File Location for PNG Files
Option One (You are using a custom theme with a GitHub repository)
You can stick everything directly under static, push, clone … you know the drill.
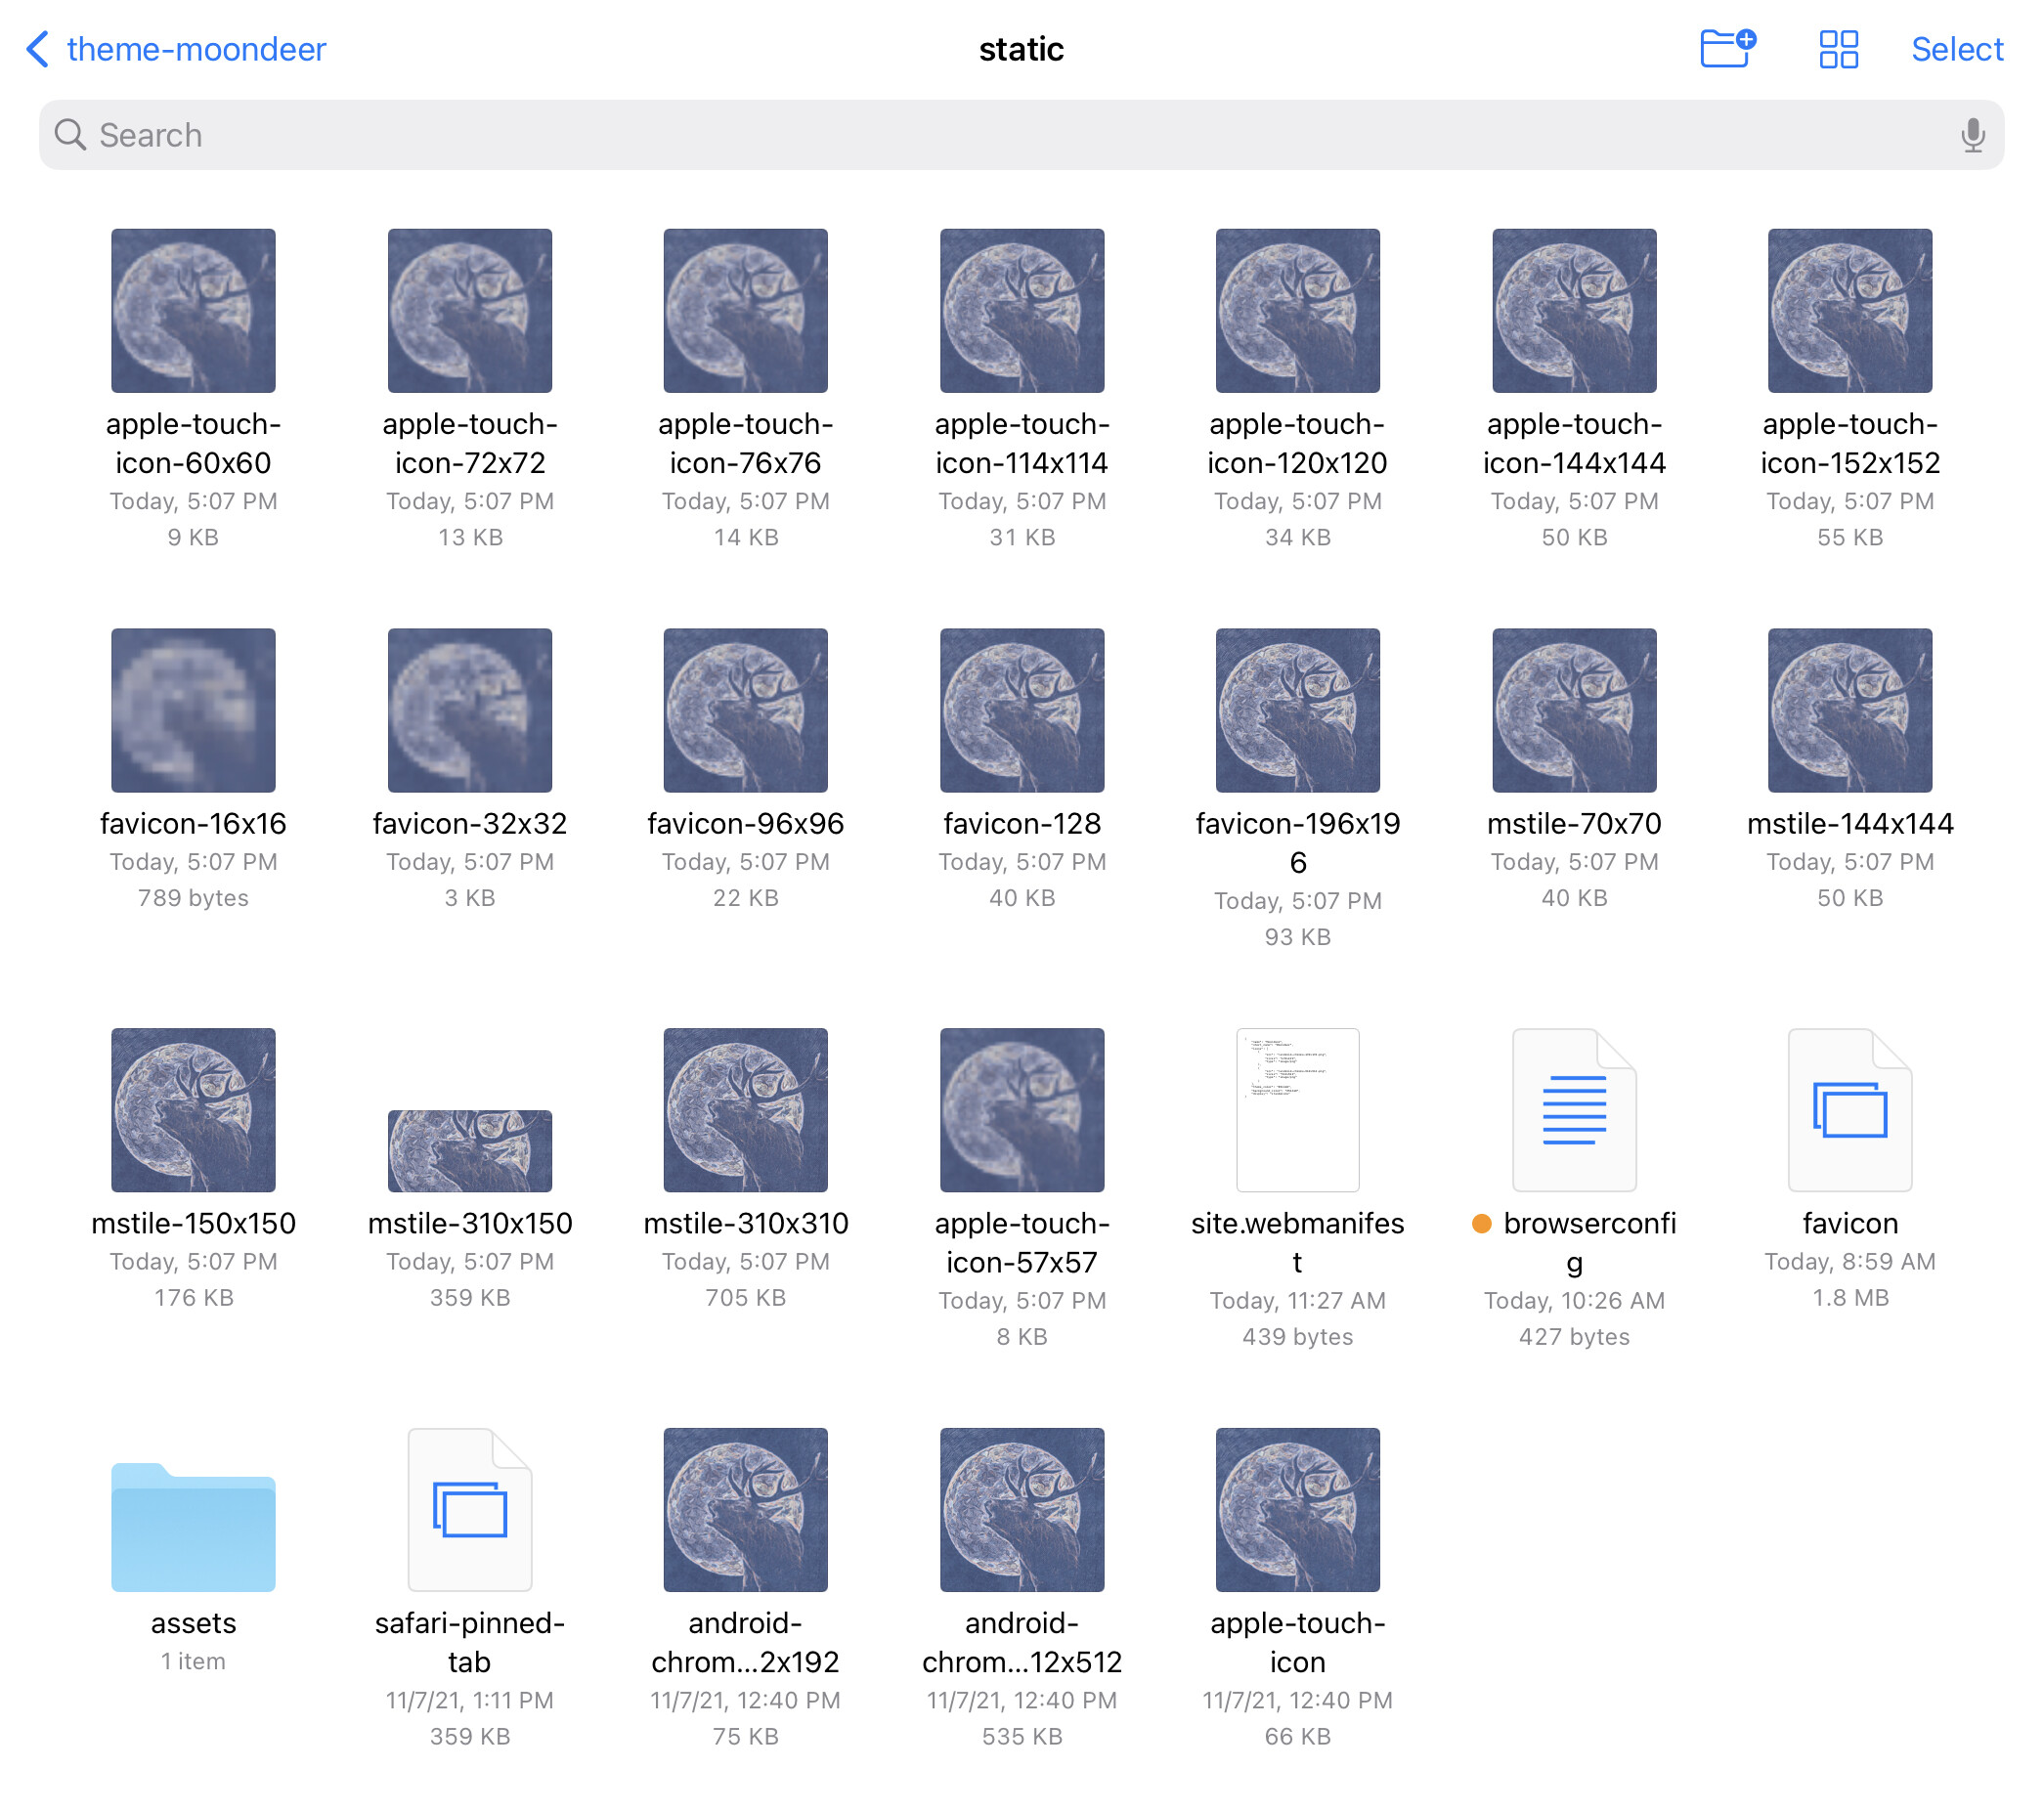
Afterwards, match up the PNG files with the commented lines of code and uncomment them.
Option Two (You must or would rather upload each file)
For each PNG image, follow these steps.
- Upload the image
- Copy the address of the newly uploaded image
- Find the matching commented line of code for the image
- Paste in the actual location and uncomment the now valid variable value
File Location for SVG Files
These are easier, you just can’t upload them. You can clone them if you’re using a custom theme with a GitHub repository; or, you can copy/paste their text content into new template files. The two supported SVG FIles are Favicon.svg and Apple.SafariPinnedTab.
As before, find the line for the corresponding variable and uncomment it once you have a valid path declared.
Manually Creating the Webmanifest and XML File
New in version 3 Skip this junk and hitup Automatically Creating the Webmanifest and XML File
File Location for the XML File
Instead of including a bunch of Microsoft meta tags, a single XML file can be used to store all the MSTile stuff but MSTile.ApplicationName.
To do this, create an XML file called browserconfig.xml, copy the template into it, and then replace all the bracketed variables with the values you entered into data/plugin_favicons/params.toml. You can remove lines for which you have no matching image.
<?xml version="1.0" encoding="utf-8"?>
<browserconfig>
  <msapplication>
    <tile>
      <square70x70logo src="[MSTile.x70]"/>
      <square144x144logo src="[MSTile.x144]"/>
      <square150x150logo src="[MSTile.x150]"/>
      <wide310x150logo src="[MSTile.Widex150]"/>
      <square310x310logo src="[MSTile.x310]"/>
      <TileColor>[MSTile.TileColor]</TileColor>
    </tile>
  </msapplication>
</browserconfig>
Once you’ve done that, find the MSTile.BrowserConfig variable, enter the path to your file (minus the static), and uncomment the now valid variable.
File Location for the Webmanifest
The last bit of nonsense is for appeasing Google. We need a simply JSON file.
Option One (You are using a custom theme with a GitHub repository)
Micro.blog will not clone a file called site.webmanifest. Call that sh$t site.webmanifest.txt.
Option Two (You want to recreate this file every time you reinstall)
Go ahead and call that file whatever TF you feel like calling it.
Moving On
With your new file created, copy this template and paste it in thar:
{
    "name": "[AndroidChrome.Name]",
    "short_name": "[AndroidChrome.Name]",
    "icons": [
        {
            "src": "[AndroidChrome.x192]",
            "sizes": "192x192",
            "type": "image/png"
        },
        {
            "src": "[AndroidChrome.x512]",
            "sizes": "512x512",
            "type": "image/png"
        }
    ],
    "theme_color": "[AndroidChrome.ThemeColor]",
    "background_color": "[AndroidChrome.BackgroundColor]",
    "display": "standalone"
}
Replace the bracketed variables with the values you entered into data/plugin_favicons/params.toml.
When you’ve done that, go back the data file, find the commented line of code for AndroidChrome.Webmanifest, enter the path to your new file, and then uncomment the now totally valid variable value.
Automatically Creating the Webmanifest and XML File {#automatic}
The Intro
Okay, let’s lay out some need-to-know-sh$t. If you don’t have a custom theme created yet … go ahead and do it. Just hit the design tab, click to edit custom themes, click new theme, give it a name … and … voila. You now have an identical theme to whatever you were using; but, you get to edit and/or add sh$t whenevery you feel like it.
The next big, scary thing that really isn’t so big and/or scary … f$&king with config files. Here’s how we do it safely. All we want to do is add stuff to the configuration. Currently, however, some settings are all or nothing at the point of assignment. Chances are your theme isn’t adding anything to the config file (the contents of config.json in the Marfa theme is {}). The configuration workhorse is all the way down at the bottom of the list of your custom theme files … down in the Blank theme.
Side note: I have come to prefer configuring sh$t using TOML files (like, as of this week). If you want to follow along using TOML, all I did to get going was convert JSON to TOML using this site. In fact, my first use of the site was to convert that intimidating config.json file lurking down there in the Blank theme. Here’s what you get:
The Blank Theme Configuration
title = "[TITLE]"
baseURL = "[SCHEME]://[HOSTNAME]/"
rssLimit = 25
uglyURLs = false
enableRobotsTXT = true
languageCode = "[LANGUAGE]"
paginate = 25

[author]
name = "[FULL_NAME]"
avatar = "https://micro.blog/[USERNAME]/avatar.jpg"
username = "[USERNAME]"

[mediaTypes."application/json"]
suffixes = [ "json" ]

[outputFormats.RSS]
baseName = "feed"

[outputFormats.JSON]
baseName = "feed"

[outputFormats.RSD]
mediaType = "application/xml"
baseName = "rsd"
isPlainText = true
notAlternative = true

[outputFormats.ArchiveHTML]
mediaType = "text/html"
path = "archive"
baseName = "index"
isPlainText = false
notAlternative = true

[outputFormats.ArchiveJSON]
mediaType = "application/json"
path = "archive"
baseName = "index"
isPlainText = true
notAlternative = true

[outputFormats.PhotosHTML]
mediaType = "text/html"
path = "photos"
baseName = "index"
isPlainText = false
notAlternative = true

[outputFormats.PhotosJSON]
mediaType = "application/json"
path = "photos"
baseName = "index"
isPlainText = true
notAlternative = true

[outputFormats.PodcastXML]
mediaType = "application/rss+xml"
baseName = "podcast"
isPlainText = true
notAlternative = true

[outputFormats.PodcastJSON]
mediaType = "application/json"
baseName = "podcast"
isPlainText = true
notAlternative = true

[outputs]
home = [
  "HTML",
  "RSS",
  "JSON",
  "RSD",
  "ArchiveHTML",
  "ArchiveJSON",
  "PhotosJSON",
  "PodcastXML",
  "PodcastJSON"
]
page = [ "HTML" ]
section = [ "HTML" ]
taxonomy = [ "HTML", "RSS", "JSON" ]
taxonomyTerm = [ "HTML", "RSS", "JSON" ]

[taxonomies]
category = "categories"

[blackfriday]
fractions = false

[params]
description = 'Follow <a href="https://micro.blog/[USERNAME]">@[USERNAME] on Micro.blog</a>.'
itunes_description = "[ITUNES_DESCRIPTION]"
itunes_category = "[ITUNES_CATEGORY]"
itunes_subcategory = "[ITUNES_SUBCATEGORY]"
itunes_author = "[ITUNES_AUTHOR]"
itunes_email = "[ITUNES_EMAIL]"
itunes_cover = "[ITUNES_COVER]"
twitter_username = "[TWITTER_USERNAME]"
github_username = "[GITHUB_USERNAME]"
instagram_username = "[INSTAGRAM_USERNAME]"
site_id = "[SITE_ID]"
paginate_home = false
paginate_categories = false
paginate_replies = false
theme_seconds = "0"
plugins_css = [ ]
plugins_js = [ ]
plugins_html = [ ]
Now, the point of seeing that is so you have it all out in front of you. What you don’t want to mess with … what you will want to copy and paste … yada, yada, yada.
The Configuration Directory
My breakthrough in getting this sh$t to work came when I gave the configuration directory a go. We will create a directory in our custom theme called config. We will add a directory for our default environment at config/_default. Each file in that directory will act like a piece of the config.json file. A file at config/_default/params.toml would contain entries in the Params object at its top-level.
So here’s the deal, we are just gonna dip in and add a new mediaType, a pair of new outputFormats, and we’ll set the outputs for the home page. Everything from the existing configuration that I don’t tell you to create below, it can all just stay happily where it is.
Gettin’ the Party Started
Let’s start by making absolutely no changes … and have that unchanged configuration coming from our new config directory (which doesn’t exist yet because I haven’t told you to create any template files).
Create a new template file (see, here I go) located at config/_default/mediaTypes.toml. Find the mediaTypes declared in your Blank theme file, I found this:
[mediaTypes."application/json"]
suffixes = [ "json" ]
Remembering that the new file itself acts like the mediaTypes key, paste what you found into the new file. I pasted this:
["application/json"]
suffixes = [ "json" ]
Simple, right? Now we’re doing the same sh$t for what we find for outputFormats.
Create a new template file at config/_default/outputFormats.toml and past what you found for outputFormats in the new file. I found this:
[outputFormats.RSS]
baseName = "feed"

[outputFormats.JSON]
baseName = "feed"

[outputFormats.RSD]
mediaType = "application/xml"
baseName = "rsd"
isPlainText = true
notAlternative = true

[outputFormats.ArchiveHTML]
mediaType = "text/html"
path = "archive"
baseName = "index"
isPlainText = false
notAlternative = true

[outputFormats.ArchiveJSON]
mediaType = "application/json"
path = "archive"
baseName = "index"
isPlainText = true
notAlternative = true

[outputFormats.PhotosHTML]
mediaType = "text/html"
path = "photos"
baseName = "index"
isPlainText = false
notAlternative = true

[outputFormats.PhotosJSON]
mediaType = "application/json"
path = "photos"
baseName = "index"
isPlainText = true
notAlternative = true

[outputFormats.PodcastXML]
mediaType = "application/rss+xml"
baseName = "podcast"
isPlainText = true
notAlternative = true

[outputFormats.PodcastJSON]
mediaType = "application/json"
baseName = "podcast"
isPlainText = true
notAlternative = true
So after removing the outputFormats key I got this:
[RSS]
baseName = "feed"

[JSON]
baseName = "feed"

[RSD]
mediaType = "application/xml"
baseName = "rsd"
isPlainText = true
notAlternative = true

[ArchiveHTML]
mediaType = "text/html"
path = "archive"
baseName = "index"
isPlainText = false
notAlternative = true

[ArchiveJSON]
mediaType = "application/json"
path = "archive"
baseName = "index"
isPlainText = true
notAlternative = true

[PhotosHTML]
mediaType = "text/html"
path = "photos"
baseName = "index"
isPlainText = false
notAlternative = true

[PhotosJSON]
mediaType = "application/json"
path = "photos"
baseName = "index"
isPlainText = true
notAlternative = true

[PodcastXML]
mediaType = "application/rss+xml"
baseName = "podcast"
isPlainText = true
notAlternative = true

[PodcastJSON]
mediaType = "application/json"
baseName = "podcast"
isPlainText = true
notAlternative = true
The last new template file we need to create is at config/_default/outputs.toml.
You already know how this is meant to go. Look at what you got in the Blank theme:
[outputs]
home = [
  "HTML",
  "RSS",
  "JSON",
  "RSD",
  "ArchiveHTML",
  "ArchiveJSON",
  "PhotosJSON",
  "PodcastXML",
  "PodcastJSON"
]
page = [ "HTML" ]
section = [ "HTML" ]
taxonomy = [ "HTML", "RSS", "JSON" ]
taxonomyTerm = [ "HTML", "RSS", "JSON" ]
Drop the top-level outputs key and you get:
home = [
  "HTML",
  "RSS",
  "JSON",
  "RSD",
  "ArchiveHTML",
  "ArchiveJSON",
  "PhotosJSON",
  "PodcastXML",
  "PodcastJSON"
]
page = [ "HTML" ]
section = [ "HTML" ]
taxonomy = [ "HTML", "RSS", "JSON" ]
taxonomyTerm = [ "HTML", "RSS", "JSON" ]
And just like that, we’re done creating files … and nothing at all should have changed in the build.
I doubt we even need half of what we copied; but, I don’t want to be resposible were it to turn out we did.
The Sh$t that Makes the Plugin Files Build
Hugo 0.54 is ancient. We need to inform it of a mime type it has since learned about. Add the following entry to your config/_default/mediaTypes.toml file:
["application/manifest+json"]
suffixes = [ "json", "webmanifest" ]
We need to layout how to build what we want, add the following two output formats to config/_default/outputFormats.toml:
[WebAppManifest]
mediaType = "application/manifest+json"
baseName = "manifest"
rel = "manifest"
isPlainText = true
isHTML = false
notAlternative = true

[BrowserConfig]
mediaType = "application/xml"
baseName = "browserconfig"
isPlainText = true
isHTML = false
notAlternative = true
Now all that is left is to tell Hugo to generate these pages for our root page. Add these two output format names to the list of output for home, kinda like:
home = [
  "HTML",
  "RSS",
  "JSON",
  "RSD",
  "ArchiveHTML",
  "ArchiveJSON",
  "PhotosJSON",
  "PodcastXML",
  "PodcastJSON",
  "WebAppManifest",
  "BrowserConfig"
]
That’s it. You’re done with the scary sh$t.
Persistence
Once you’re happy with your file, consider editing your custom theme (or creating a new custom theme from the Micro.blog theme you are using so you can add a file to it) by creating a new template file at data/plugin_favicons_params.toml and pasting in everything from the plugin file data/plugin_favicons/params.toml. The new file will take precedence and it won’t get deleted when updating the plugin.
Confirmation
You can head back to https://realfavicongenerator.net and check your site. When everything is properly in place, you get mostly green results like those below. When everything is properly in place, you should get mostly green … give or take some quibbles regarding whether or not an image is in the root directory.
If anyone is curious, my data file lives at data/plugin_favicons_params.toml inside theme-moondeer, and it looks like this:
# Parameters derived from the use of https://realfavicongenerator.net
# and https://favicomatic.com to generate favicon assets.

# General theme color for the site (used by Mobile Safari in iOS 15 to paint the background of the status bar).
ThemeColor = "#516189"

[Apple]

# Path to the 180x180 pixel image.
#
TouchIcon = "apple-touch-icon.png"

# Path to the 57x57 pixel image.
#
x57 = "/apple-touch-icon-57x57.png"

# Path to the 114x114 pixel image.
#
x114 = "/apple-touch-icon-114x114.png"

# Path to the 72x72 pixel image.
#
x72 = "/apple-touch-icon-72x72.png"

# Path to the 144x144 pixel image.
#
x144 = "/apple-touch-icon-144x144.png"

# Path to the 60x60 pixel image.
#
x60 = "/apple-touch-icon-60x60.png"

# Path to the 120x120 pixel image.
#
x120 = "/apple-touch-icon-120x120.png"

# Path to the 76x76 pixel image.
#
x76 = "/apple-touch-icon-76x76.png"

# Path to the 152x152 pixel image.
#
x152 = "/apple-touch-icon-152x152.png"

# Path to the Safari pinned tab SVG file.
# You can create a template file and paste in your SVG or include the file
# in a custom theme GitHub repository. For it to be at the root, the location would
# be static/safari-pinned-tab.svg
#
SafariPinnedTab = "/safari-pinned-tab.svg"

[Favicon]

# Path to an SVG favicon image.
#
svg = "/favicon.svg"

# Path to the 196x196 pixel image.
#
x196 = "/favicon-196x196.png"

# Path to the 128x128 pixel image.
#
x128 = "/favicon-128x128.png"

# Path to the 96x96 pixel image.
#
x96 = "/favicon-96x96.png"

# Path to the 32x32 pixel image.
#
x32 = "favicon-32x32.png"

# Path to the 16x16 pixel image.
#
x16 = "favicon-16x16.png"

[AndroidChrome]

# Short name for app-like button.
#
Name = "Moondeer"

# Path to the 192x192 pixel image.
#
x192 = "android-chrome-192x192.png"

# Path to the 512x512 pixel image.
#
x512 = "android-chrome-512x512.png"

# Theme color to use in the webmanifest.
#
ThemeColor = "#516189"

# Background color to use in the webmanifest.
#
BackgroundColor = "#516189"

[MSTile]

# Short name for app-like button.
#
ApplicationName = "Moondeer"

# Path to the 70x70 pixel image.
#
x70 = "/mstile-70x70.png"

# Path to the 144x144 pixel image.
#
x144 = "/mstile-144x144.png"

# Path to the 150x150 pixel image.
#
x150 = "/mstile-150x150.png"

# Path to the 310x150 pixel image.
#
Widex150 = "/mstile-310x150.png"

# Path to the 310x310 pixel image.
#
x310 = "/mstile-310x310.png"

# The tile color behind the 150x150 pixel image.
#
TileColor = "#DA532C"